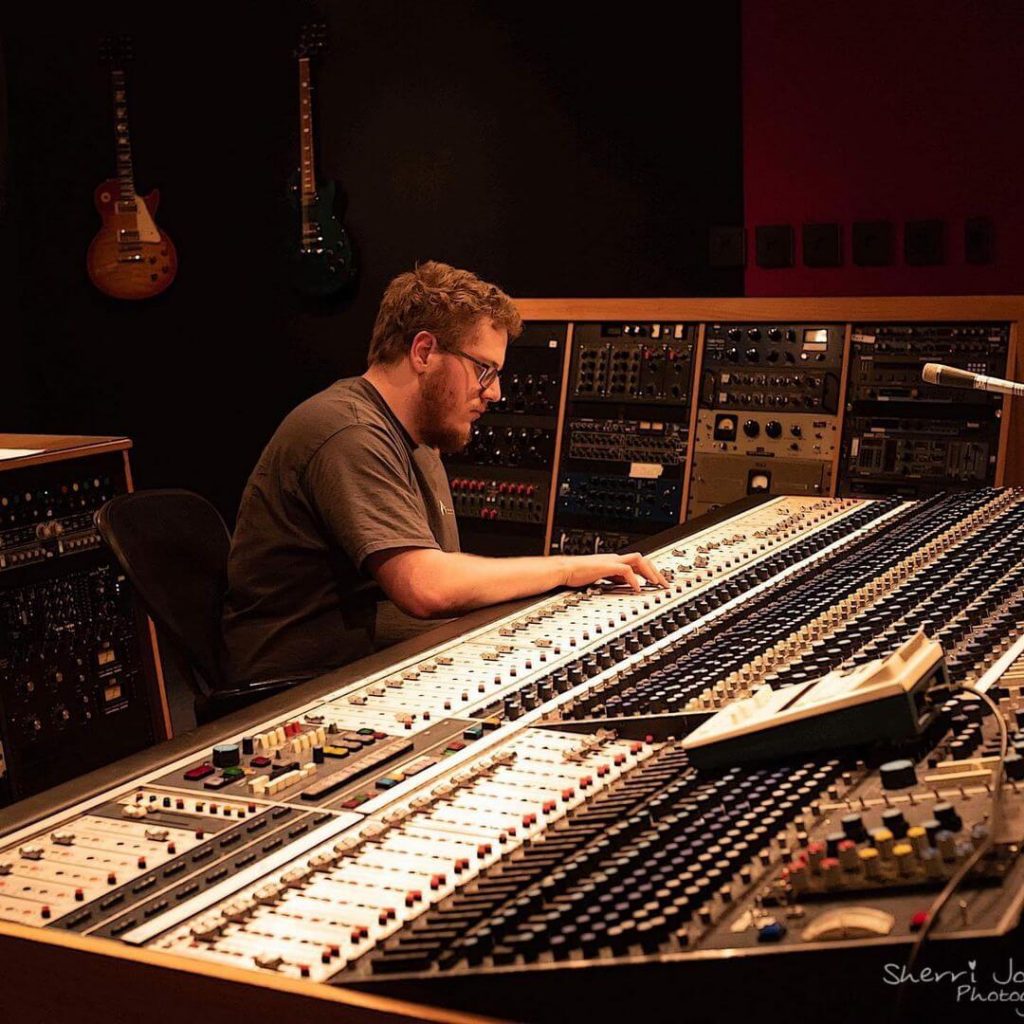
My name is Ron Bates. I’m a freelance audio engineer and producer based out of Nashville, TN. As Techivation just released the T-De-Esser, I thought it might be cool to experiment with some not-so-typical uses for De-Essing.
Before we jump into some mixing scenarios, let’s first cover the basics of De-Essing. Let’s ask ourselves what a De-Esser is and why you might want to use one. On the surface, De-Essers help engineers tame harsh sibilance coming from vocalists. Harsh Ss and Ts can be distracting and pull the listener out of a vocal performance.
Now that we know why we would typically use a De-Esser, let’s break down what a De-Esser is. In the simplest form, a De-Esser is just turning a specific frequency range down as the audio passes over the threshold. The lower the threshold the quieter that frequency range will be. Now, when you look at De-Essing at this technical level, we realize that it’s extremely similar to a tool all audio engineers know and love… compression!
De-Essers are essentially frequency-dependent compressors. This is why many multiband compressors might have a “De-Essing” preset or similar. Now, some De-Essers really capitalize on just solving a sibilance issue, however, we can harness the power of De-Essers to help add energy and tame frequency issues in many sources besides vocals. Let’s dig in!
De-Essing Effect return channels
I find that while mixing vocals there can be many stages in the mix process that can add unwanted sibilance and high end. If the vocal itself has a lot of sibilances, I always like to De-Ess at the source before any effects are applied. This way, I’ve done my best to stop the issue at the source. However, when adding things such as reverbs and delays, these can be quite bright, especially depending upon what style of each you’re wanting to use.
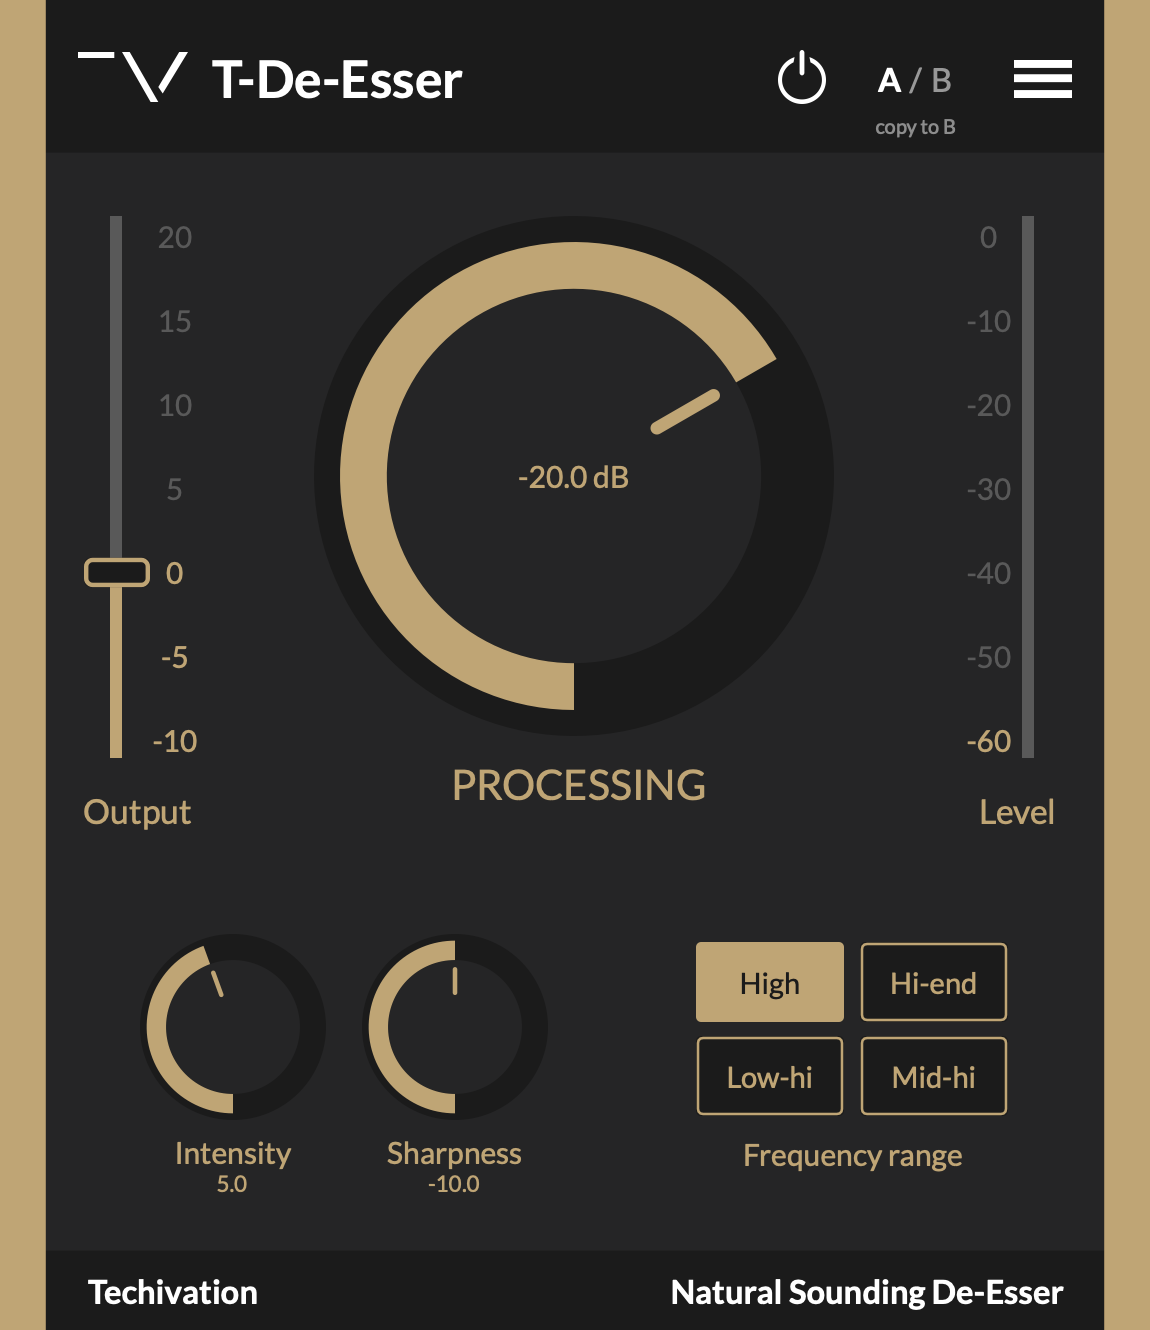
I sometimes find that reverbs can be a bit abrasive with certain frequencies, especially in the higher end of the frequency spectrum. Most reverbs have basic filters, and sometimes EQ sections for this very issue, however, that doesn’t always work. What happens if I love the sound of my reverb, but there’s still a bit of sibilance? I’ve already De-Essed the vocal and don’t want to manipulate it further. I don’t want to reduce the high end on the reverb plug-in. I just need to tame the sibilance. Well, how about a De-Esser? De-Essing can be a great way to zero in on that offending frequency and tame it when it gets a bit out of control. The new T-De-Esser handles tasks like this very well. It has 4 frequency ranges you can pick from to best suit the source you’re trying to control.
I also really love De-Essing slapback delays as Ts and Ss tend to really stick out. Sometimes, while this can be completely acceptable for the song, it can also be a bit much. De-Essing your delays is a quick way to help them sit a bit further back, but still, give a big vocal sound.
De-Essing Instruments
Cymbals can be extremely harsh. This can happen when you’re working with a drummer that hits the cymbals much harder than the drums. This can lead to loud, harsh cymbals and less punchy, quiet drums, especially in overheads. Sometimes EQing that frequency range works, but then you might lose some of the attack and sizzle of your snare. We’ll still need a way to remedy harsh cymbals. We can, you guessed it, De-Ess our overheads.
I really like using the T-De-Esser for this purpose as well. I like taking the De-Esser and over De-Essing and then going through the four different frequency bands. You can then really start to hear how each one changes the tonality of the cymbals. Then I’ll slightly back off the gain reduction. De-Essing overheads not only takes away the harshness but also helps push the cymbals further back in the mix. As the high end decreases in a signal, our ears perceive that loss of high end as the signal being further away, making the cymbals feel further back in the mix.
You don’t have to let this technique stop at overheads, either. If your snare mic has some high-hat bleed, you could try de-essing it to take the edge off. This also goes for any instrument that might have any sort of harshness. De-Essing can be a great way to tame high frequencies that poke out a bit too much.
Parallel De-Essing
While we’re still on the topic of drums, parallel de-essing with the T-De-Esser is quite fun! Since we’ve learned that, at its core, a De-Esser is a frequency-dependent compressor, we can also use a De-Esser to add excitement to sources. Because De-Essers only reduce a specific frequency range, it’s a similar effect to having a sidechain filter on a compressor. Any energy outside the predetermined frequency range will not trigger the gain reduction. So when using the plug-in in parallel like this, it’s essentially just parallel compression.
The T-De-Esser sounds AWESOME when you slam drums through it. I love the pop it adds to the snare. I also added some tube-style saturation after the T-De-Esser and that really added to the drum sound. While this is definitely a more unconventional way to use a de-esser, it’s super fun to experiment and get creative. I highly recommend trying this plug-in in places you might normally not think of.
De-Essers are a multi-tool for various audio processing when used correctly. The Techivation T-De-Esser is a fantastic, free De-Esser that helps smooth out many audio issues. My favorite thing about this plug-in is how easy it is to use. I’m not lost in multiple menus looking through features. This De-Esser allows me to tackle a problem and move on. I’m definitely looking forward to using it and seeing what’s next from Techivation.
I hope this brings you some newfound inspiration and helps you improve your mixes. Happy mixing, everyone!
