The Room
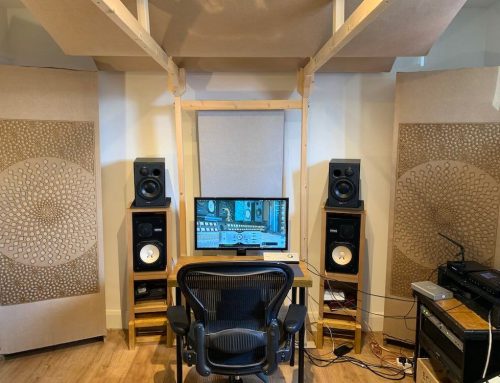
First and foremost, you want to record in a room or space with limited reflections — unless the desired sound incorporates the ambience of a particular space, even then a second mic can always be used to capture room ambience as a separate track. Reflections can be reduced by using soft materials on the floor, the wall, the ceiling, and hard reflective surfaces. I recommend always having the vocalist standing on a rug or carpet (unless we’re trying to sneak some foot-stomping on the vocal recording, it’s been done). Try covering the angles of where the walls meet the ceiling and corners. It’s good to dampen large areas of reflective hard surfaces too to improve the overall recording.
The Microphones
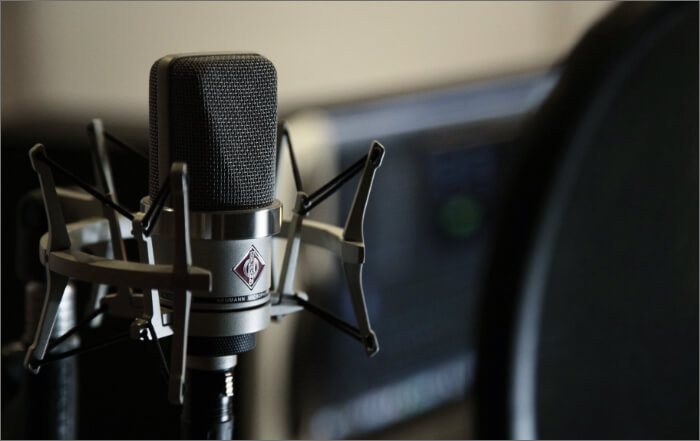
Depending on what mic you use, you want the diaphragm of the mic to capture the vocal with clarity and presence. Personally, I tend to place the diaphragm of the mic at a slight downward angle to the mouth (downward towards the throat and chest as opposed to tilted upwards towards the nose and eyes). Another key tip is using a pop filter. The pop filter should be between the vocalist and the diaphragm of the microphone. Personally, I keep it between 2–6 inches from the vocalist and 2–4 inches to the mic.
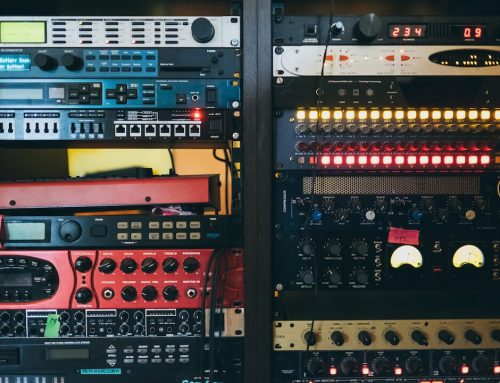
Lastly, let’s talk about Gain/Level. Always be mindful of your microphone preamp gain setting, so that the level going into the recording device isn’t too hot or too low. Watch out for peak overloads (in the red). It’s a good idea to incorporate a compressor and/or an equalizer after the microphone preamp before it goes into your recording devices. Compression and EQ should be used purposefully because they can either be your best friend or worst enemy when recording.
For more in-depth tricks and tips, be on the lookout for my debut book on how to set up and capture the best sounds + more. Until then, keep creating and stay positive.
Written By Bonzai Caruso
Main source www.blog.vollume.com

