INTRO
These days, you often hear about plugins that can help create width and depth on a track, mix or master. There are many options to choose from: wideners, exciters… even reverb is a possibility. The fact is, there are no hard and fast rules and every tool has a place where it can be used effectively. However, the potential problem is that many of these approaches might cause undesired side effects.
EQ
EQ is a powerful tool that can do more than simply rebalance the tonal characteristic of a track. It can also be used to create a sense of space, definition, width, and clarity. But more on that later! First, let’s quickly take a look at why some of the other options I mentioned might not be the best tool for the job.
THE WIDENING PLUGINS
With widening plugins, you can end up pulling things that feel solid in both the center and stereo image to where they are now more “phasey” and lose mono compatibility. Additionally, your center image can end up feeling weak and less defined by comparison.
EXCITER PLUGINS
Exciter plugins can sound cool and seem to make a track “pop” and of course feel more “exciting,” but they achieve this largely by adding lots of harmonic content to your dry signal, which might not always be what you’re looking for.
REVERB
Reverb can certainly add a sense of space or depth, but obviously at the cost of the perception of the track now being in some sort of room or chamber. When it comes to a full mix or master, that’s likely not what you’re looking to do.
BACK TO THE EQ
So then, when is it the right time to use EQ to get this elusive width and depth you’re searching for? As we’ve briefly discussed, the aforementioned methods have certain side effects that might not be desirable, so EQ is a great option when you like the overall vibe and feel of a track and don’t necessarily feel the need to add something extra to change that vibe.
Instead, maybe the track just needs to feel a bit more clear and defined. As a mastering engineer, this is often where I find myself. I don’t want to “reinvent the wheel,” but maybe just help it rotate more smoothly. Enter the mighty EQ!
THE EQ OPTIONS
There are countless EQ options on the market today, so for our purposes of discussing width and depth, let’s just consider a few attributes that you’ll find in many of them: Mid-Side operation, very high Q values, and “box tone.” (There’s also a bonus feature that can be really helpful, but I’ll get to that in a bit.) Some of those attributes might resonate with you in terms of creating width and depth, while some may not. Either way, let’s dive in a little deeper to uncover how these features can help us in our quest of width and depth.
THE MID-SIDE OPERATION
First, let’s discuss the Mid-Side operation. For the purposes of this article, I’ll assume you have an understanding of how M/S works, but the short version is: you can affect the center or “mid” of your signal independent of the stereo or “side” information.
Straight away, I do feel the obligation to mention that EQ does have the potential to introduce its own phase shift (which was a potential drawback to using widener plugins), and that is certainly true of M/S operation, but this can often be very minimal and potentially unnoticeable, especially when using small amounts of EQ adjustment and doing so with care (I’m talking values lower than +/- 3 or even 2dB here). Again, for me in mastering, this is where I find myself daily: small moves adding up to big results.
THE MID INFORMATION
So, with an M/S-capable EQ, you can focus on making sure the mid, or mono, part of your signal is clear and defined – both by cutting things that stick out or distract from what’s most important and by boosting what needs to feel more prominent.
The same approach is useful for the “side” part of your signal, but the results are not only a rebalancing of the tone of the track but also rebalancing the stereo presentation of it.
THE SIDE INFORMATION
By altering the side information, you are affecting the perception of how “wide” a track feels by either turning certain elements up or down. Additionally, the changes in gain and tone will alter the perception of depth, as the relation between your mid and side signals will have changed. Again, use this approach with caution, because you can end up doing more harm than good if you take things too far.
STEREO EQ BENEFITS
If Mid-Side mode sounds scary to you, or you’d rather not go that route and keep things a little more simple, fear not! The same basic techniques can still be used to accomplish width and depth in a traditional, stereo EQ.
You might be surprised how much you can “open up” a track by simply carving and boosting in a few, key places. And the second attribute of EQs that we’re focusing on can be a big help in this!
EQs that have the ability to use very tight bands, or very high “Q” values, really allow you to get precise with an EQ to accent or clean things up without affecting as much of the rest of the track as a broader-shaped band would.
LESS IS MORE
As previously mentioned, every tool has a place, so sometimes a wide bandwidth can be useful. But what you might find interesting is that a small, tight cut or 2 in the low mids of a track that doesn’t have much definition or separation in that range can really bring clarity to things like the kick, bass, snare fundamental, and low end of the vocals for example.
Try to find a place where you can take away stuff that’s colliding a lot, but doesn’t lessen the impact of those elements. Or maybe your track doesn’t feel like there’s much clarity in the upper mids or highs?
Try a small, tight boost in a spot that helps “feature” a sound a bit more but doesn’t bring out undesirable harshness or edge in other elements of the track. In any case, doing an A/B comparison will always help inform if you’re in the right place or not.
THE A/B COMPARISONS
Speaking of A/B comparisons, here’s the bonus feature I hinted at earlier: auto gain compensation – aka “level matching.” When an EQ has the ability to adjust the overall output level based on how much level you’re adding and taking away, you’re able to have a more real-time, accurate idea of whether you’re truly helping the track sound better or not, rather than being fooled by a change in overall level.
This feature also helps you know how the imaging of your track might be changing, so that you can be sure if you’re really getting the width and depth you want, without losing everything else you still need to keep.
A favorite of mine that has this feature is the FabFilter Pro-Q 3. I’d say I have the gain compensation feature on probably 90% of the time. The only time it’s off is when I specifically want only more or less of a certain thing, but everything else needs to stay exactly as loud as it is.
THE BOX TONE EFFECT
On to our third and final attribute of EQs that help create width and depth! Box tone. You may be asking, “What in the world is box tone?” or perhaps, “How does box tone even affect width and depth?”
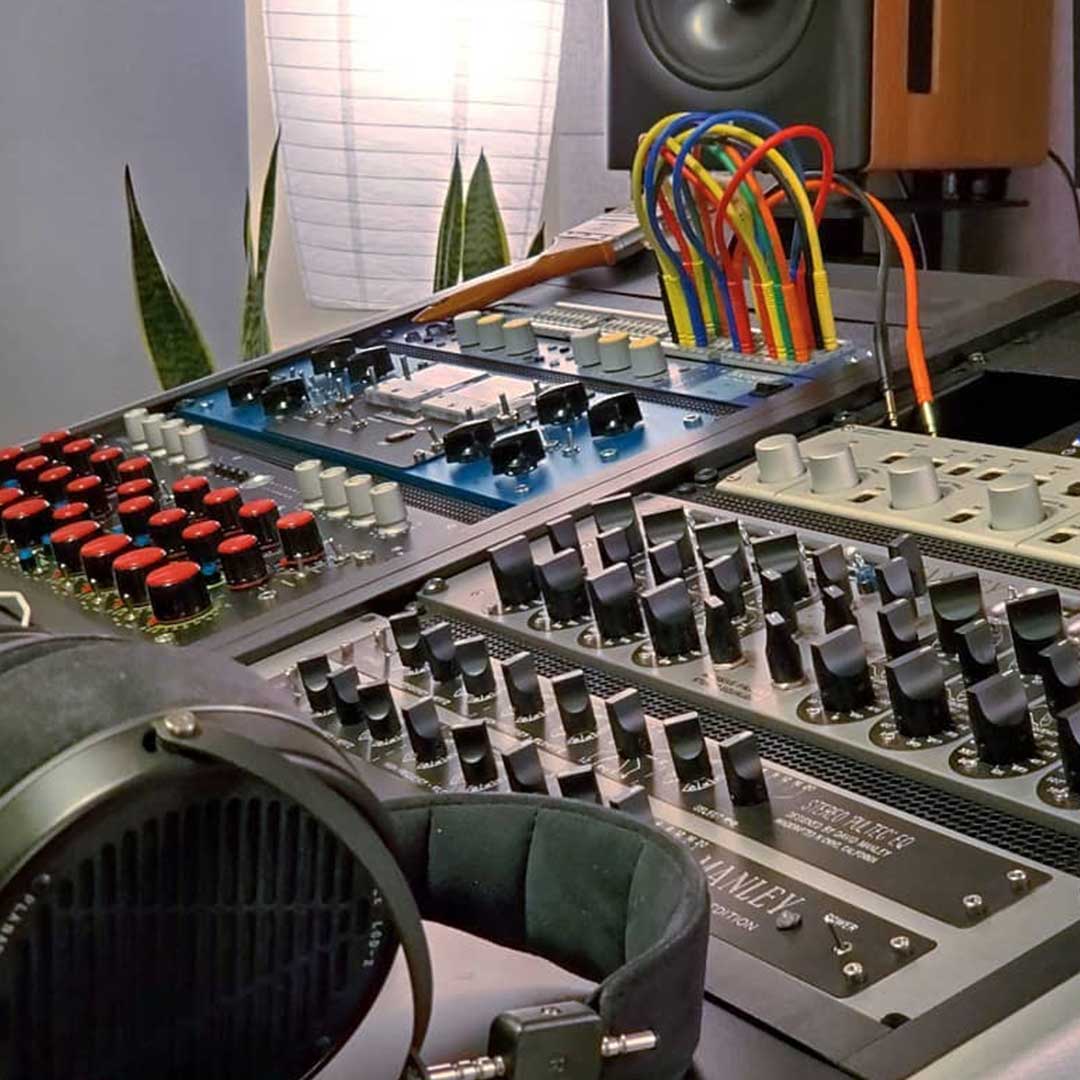
Let’s take a look! First off, “box tone” is traditionally a phrase many engineers use to describe how a piece of hardware can affect the sound of something after the signal has passed through it. However, these days, tons of plugins have been modeled after certain specific pieces of hardware to, as best they can, try to recreate that box tone.
Additionally, other plugins offer a brand new, original take on not only having a function like EQ but also adding their particular flavor of box tone.
So, many EQs – plugin and hardware alike – can affect the sound of the signal running through it simply by being turned on. One of the main reasons for this is due to either the actual hardware components the signal is running through (think tubes, transformers, op-amps, etc.) or simply the analog-modeled components that a plugin is recreating.
For some people, this may take some time and experience to really start hearing, but it’s certainly going on, albeit in very subtle ways sometimes. In any case, digital or analog, ultimately what makes up a lot of the “box tone” is varying degrees of harmonic distortion. I realize the words “harmonic distortion” may sound extreme or weird for an EQ to possess, but in reality, these harmonic characteristics are far from the sound of a rock guitar with lots of distortion on it, for example.
Depending on what EQ you’re using and what its physical (or digital) design is, you’ll get varying amounts of harmonic distortion from not only using it but sometimes based on how much level you send into it.
COLORFUL EQs
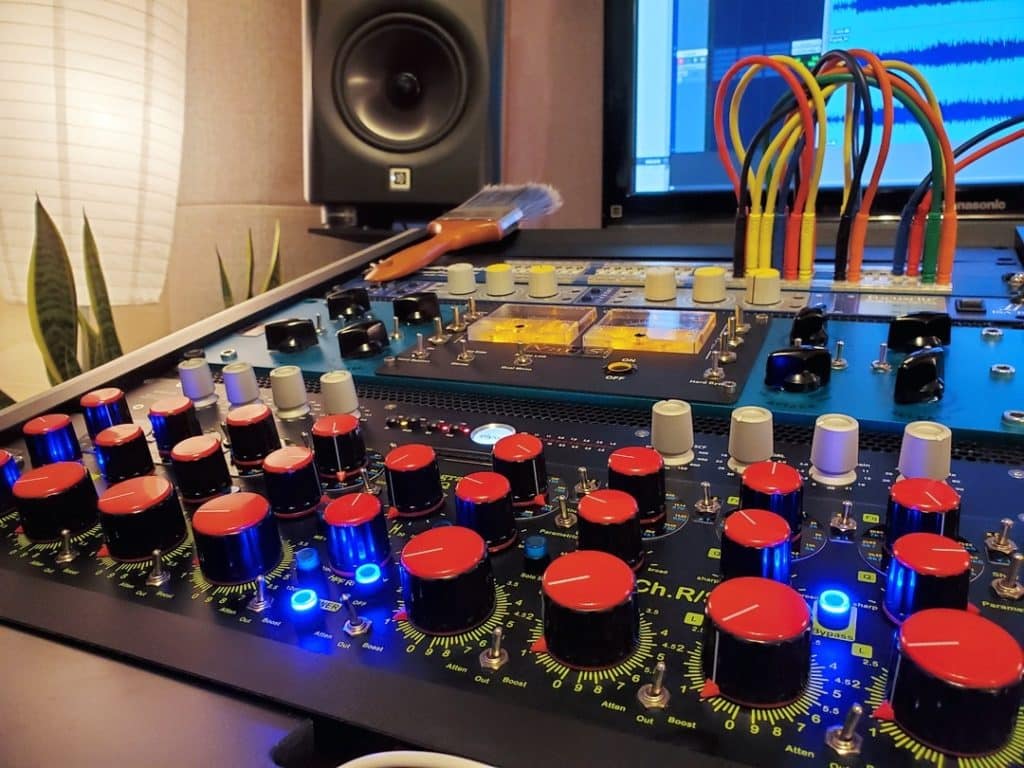
People sometimes refer to various signal processors as possessing a more “clean” sound – so we’re talking about the opposite here. This absolutely varies from company to company and even unit to unit in the analog world, but some EQs that have more noticeable sounds are things like a Pultec design, API units, EMI (or Chandler’s current offerings), and many more.
But ultimately, people praise “colorful” EQs not only for how you can shape the tone of something with them, but how they add a “special something” to a track simply by having them active in the chain. Again, it can be a subtle thing, but the results can sometimes be wonderful!
CONCLUSION
These are a few ways that you can use EQ to achieve width and depth on your tracks.
Thanks for reading this article! I hope it’s been informative and sparked some ideas for you to try yourself. Personally, I love how much you can do to a track with just 1 instance of an EQ. If you find yourself struggling to make sense of all this, don’t worry! It takes time to really hone in on some of these details and make them work for you.
Just keep experimenting and over time, things will begin to click! If you’ve found this article useful, fun, or helpful, I’d love to hear from you! You can find me on my website at adamcmastering.com or on Instagram with the handle @adamcmastering
