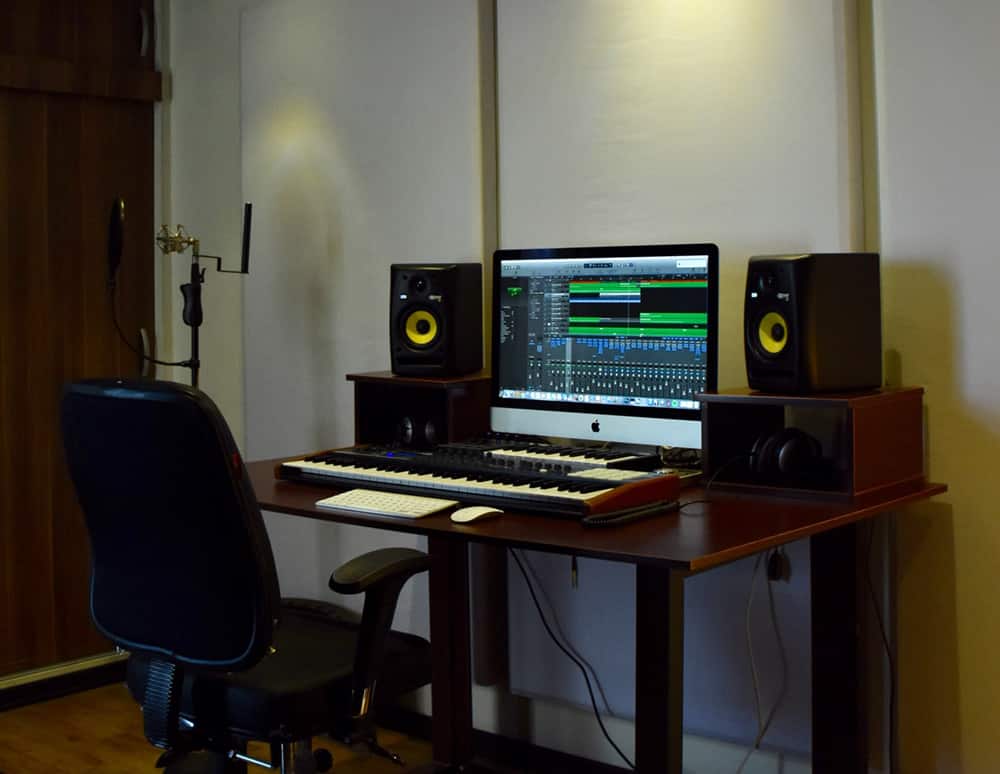
Far too many people write on how to set up a recording environment at home but exclude the mixing side of it. In most cases when people record at home, chances are they mix on their own because they are on a budget. In this article, I will explain the basics of setting up a recording room with the properties of mixing space.
What you need to think about:
• Computer
• DAW
• Audio Interface
• Monitors
• Microphones
• Cables
• Room & Acoustics
Computer
I won’t talk about computers a lot as this is a very opinionated topic. Apple makes great machines and depending on the software you wish to use you might find it easier to commit to them. Apple’s Logic Pro X, as well as many plugin manufacturers require OSX. If you decide to build your own PC you can get an incredible power for a fraction of the cost for a MacBook or an iMac. If you are a bit more tech savvy there are ways to run OSX on PC.
The thing to consider is a really powerful CPU with enough RAM. The graphics card is not important. You might also want to invest in a fast internal hard drive, just for running your software.
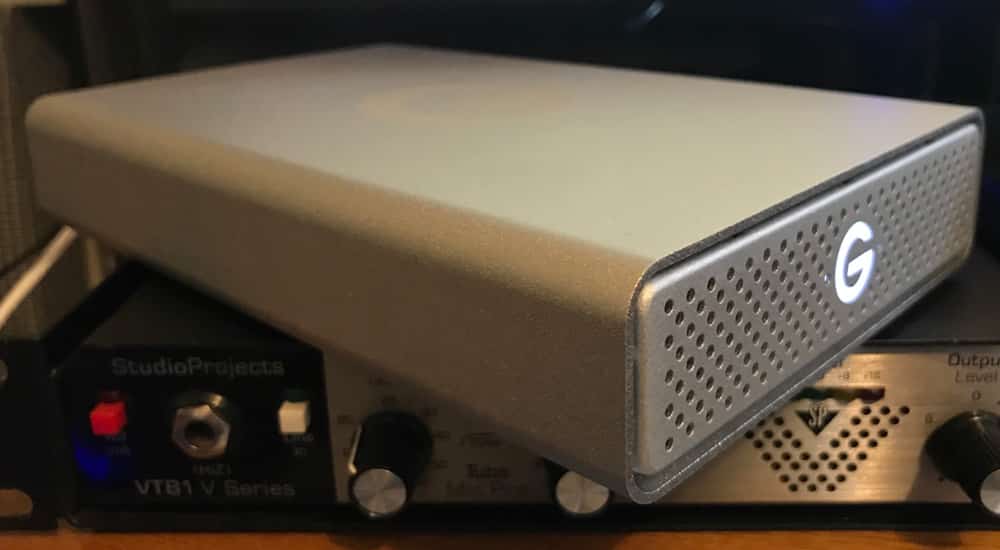
G-Drive (3TB) approx. – £138 / $199
All your sessions you should store on external drives for which I recommend the G-Drive (2TB will cost around £150). Look for something that spins with 7200 rpm so you can run your sessions directly on it. Make at least 2 backups on all your sessions. Believe me when I say this — there is nothing sadder than seeing all your work go to waste by a hot cup of morning coffee soaking through the internals of your MacBook. Speaking from experience.
DAW (Digital Audio Workstation) and Plugins
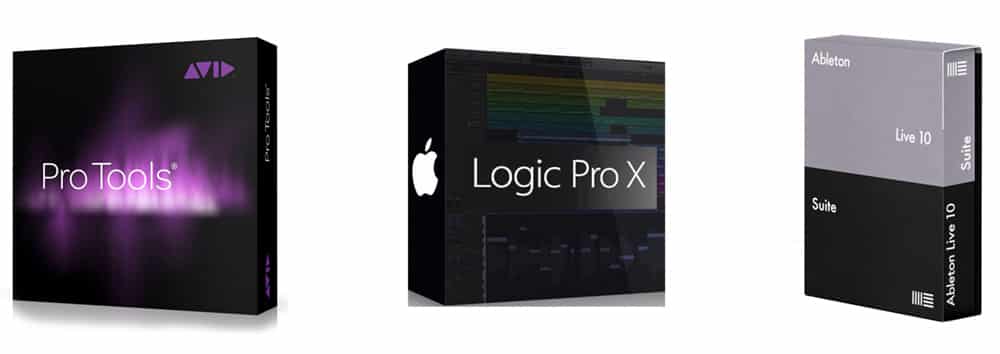
This is the software which you would use for recording and mixing your music. There are different ones out there and it doesn’t really matter which one you choose, but how you use it. Be prepared to spend half of your budget only on the software. Here are some of the more common choices:
Pro Tools 12 (Standard – £490/ Educational Discount – £250) – A bit more complex to operate, but provides great freedom of choice.
Logic Pro X (£200) – Suitable for beginners or musicians learning to record and mix as it has a lot of automated features.
Ableton Live (Intro – £80/ Standard – £350/ Suite – £600) – Great for electronic music and live performances.
Most DAW manufacturers allow you to demo their software, so you can choose what’s best for you. What you need to keep in mind is that the basic principles of one DAW apply to all of them.
If you are serious about music production start learning the DAW shortcuts from the beginning as they will make your life much easier later on.
When it comes to plugins don’t waste your money from the very beginning. You’ll have your whole life to do so. Every DAW comes with stock plugins, which nowadays have become pretty good. If your plugin library becomes too big too soon, you’ll end up not knowing what to use and how to use it. You can make a pretty savvy mix just with stock compressors and EQs as long as you know what you are doing!
Audio Interface
This component is one of high importance. It will provide a quality signal to your monitor speakers as the standard output of your computer isn’t going to do the job. The interface can also power your microphones and allow you to record different instruments. The things you need to consider when buying one are the built-in preamps, the A/D converters and the connectivity.
Don’t sacrifice quality for quantity when it comes to preamps. Buy something with a one or two built-in preamps, but also with ADAT connectivity for future expanding.
Audient iD14 – £200 / $299
Audient makes a great small interface called the iD14 (£200). A choice for the thicker pocket would be the Universal Audio Apollo Twin (£700), but don’t worry – you are not just paying for the branding. The Twin has an extra pair of outputs as well as an integrated DSP, which allows you to run UA plugins directly on it and take advantage of the UAD technology for processing the signal before it hits the converters.
UAD Apollo Twin – £627 / $899
The iD14 and the Twin both integrate beautifully with the Audient ASP880 (£850), which is a great choice for expanding your preamps on a later stage. That is an 8-channel preamp with built-in A/D converters and ADAT connections. The preamps are taken straight from the Audient’s ASP8024 console, which is an absolute beast. The converters are made by Burr Brown and are also ones of high quality.
Audient ASP880 – £976 / $1399
Monitors
Let’s get something straight. What you hear will be of utmost importance when it comes to music production and your monitors are taking care of that. Unlike standard hi-fi home audio- systems, the monitors have a flat frequency response, which is essential for what we do. What we aim for when building the mixing room is a frequency response that is as flat as possible, so our mixes can sound good on any system.
In the topic of monitors, you will find how the jumps in price from the lower range to the mid and the high-end speakers will make a massive difference in what you hear. It’s like they say – you get what you pay for.
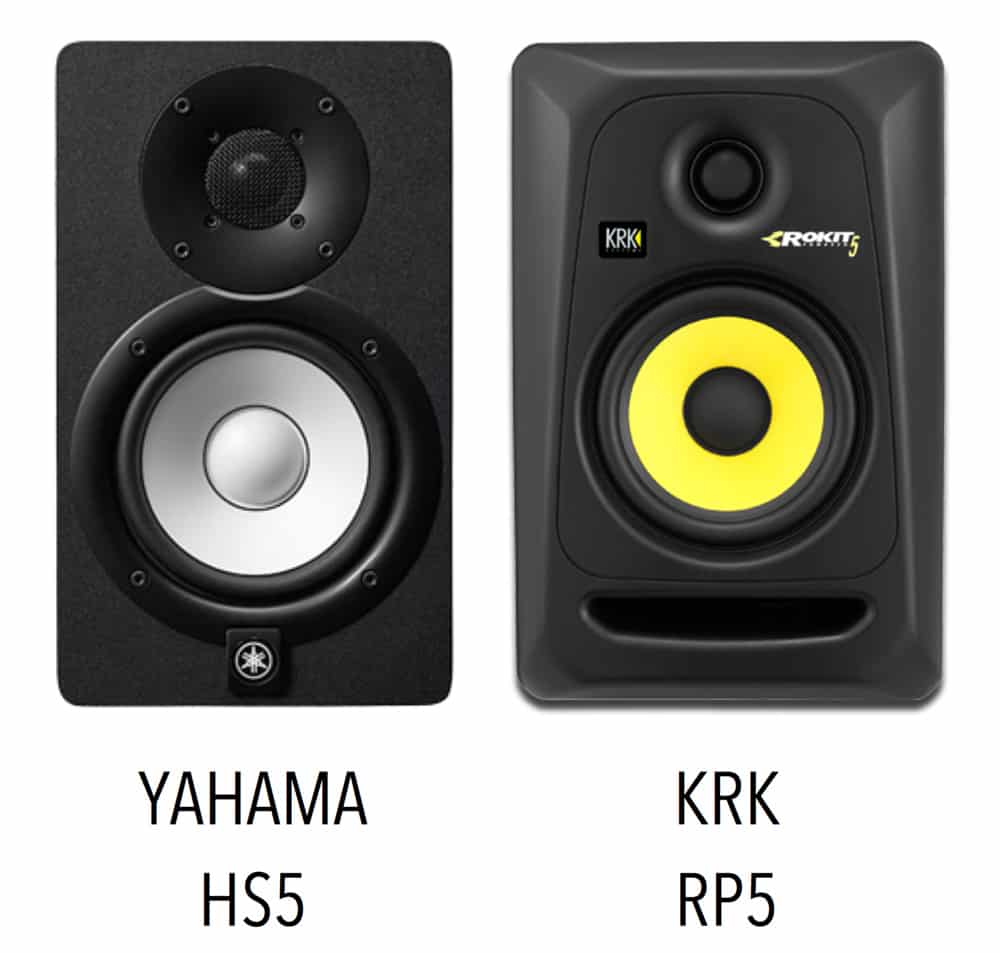
A good place to start is with the Yamaha HS5 or the KRK Rokit 5. The HS5s share similar properties as
the NS10s, which are the iconic Yamaha monitors seen on almost every desk in the last two decades. They are a great choice for rock and pop music and provide an adequate representation of the mid-range of the frequency spectrum. The Rokit 5s have been blamed for a hype in the lower end, but are great for dance and electronic music in general. It will take some time to get used to the sound of your room and monitors, but when you get to know them they will be your trusty friends.
Yamaha HS5 – £278 pair / $399 pair
KRK Rokit 5 – £208 pair / $299 pair
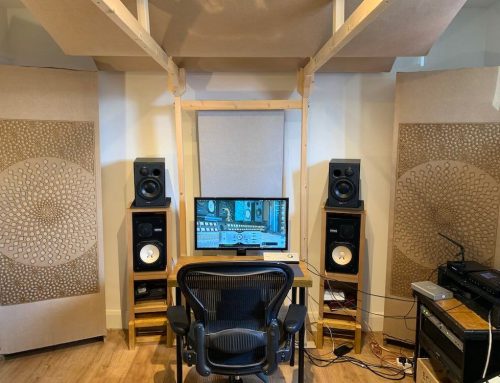
Quick Tips on monitor speakers: Positioning them in relation to you and the walls of the room comes first before everything else. All other equipment and furniture have to be positioned around the monitors and their sweet spot. Invest in monitor stands with foam pads under them (£30 each). Placing the monitors directly on the desk will turn it into an amplifier for all the frequencies you are trying to avoid.
Invest in monitor stands with foam pads under them – £28 pair / $40.99 pair
Headphones
You’ll certainly need a pair of headphones to check the stereo picture of your mixes and to use them for recording, but don’t mix on them – no matter how good they are it won’t work in my opinion.
Like monitor speakers, the monitor headphones provide a flat response and there are two types of them to think about. The ones with a closed back are better for recording as you’ll get less bleed of the backing track into the microphone. The ones with an open back (holes on the outside shell) don’t trap the sound, let it breathe and are more natural sounding. They are not ideal for tracking, because of the excess bleed, but are great for checking out your mix.
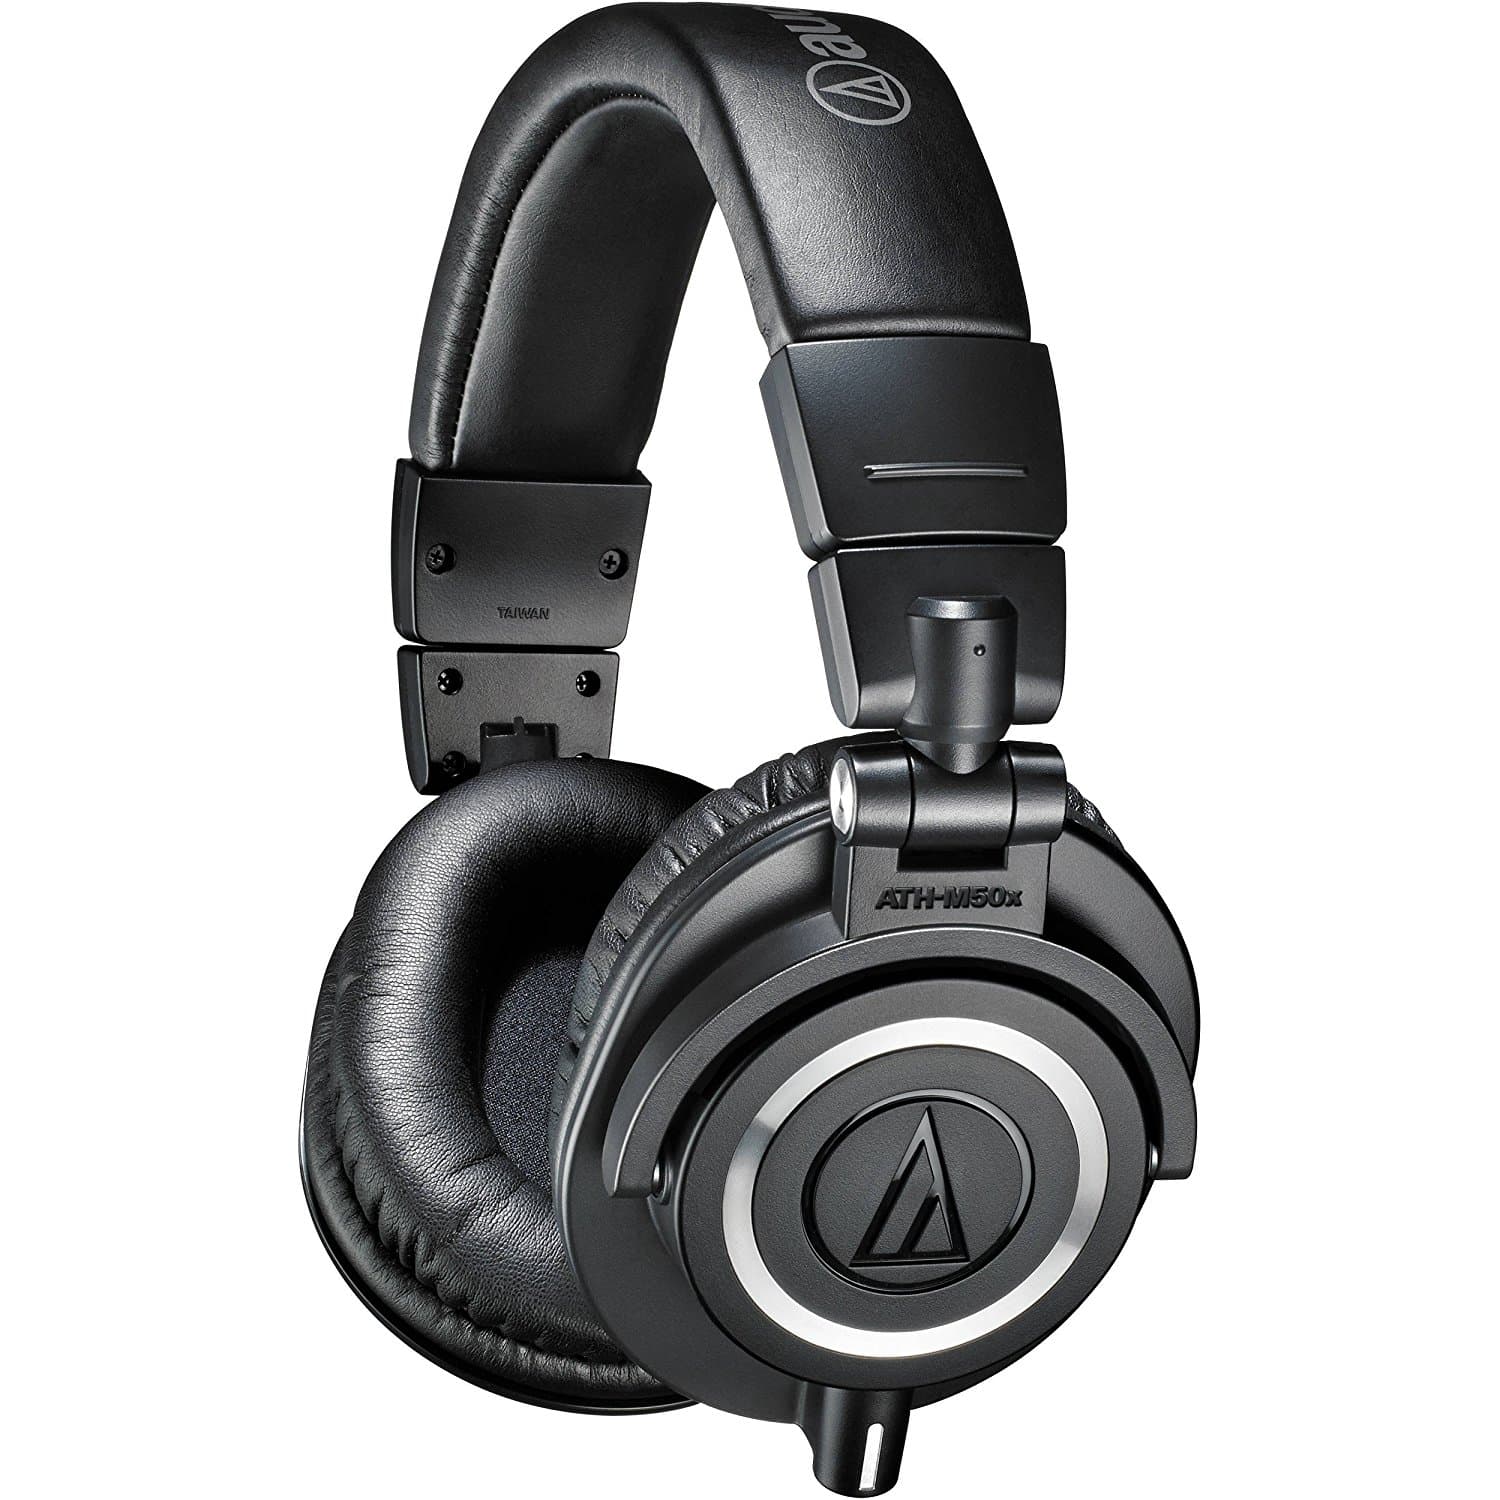
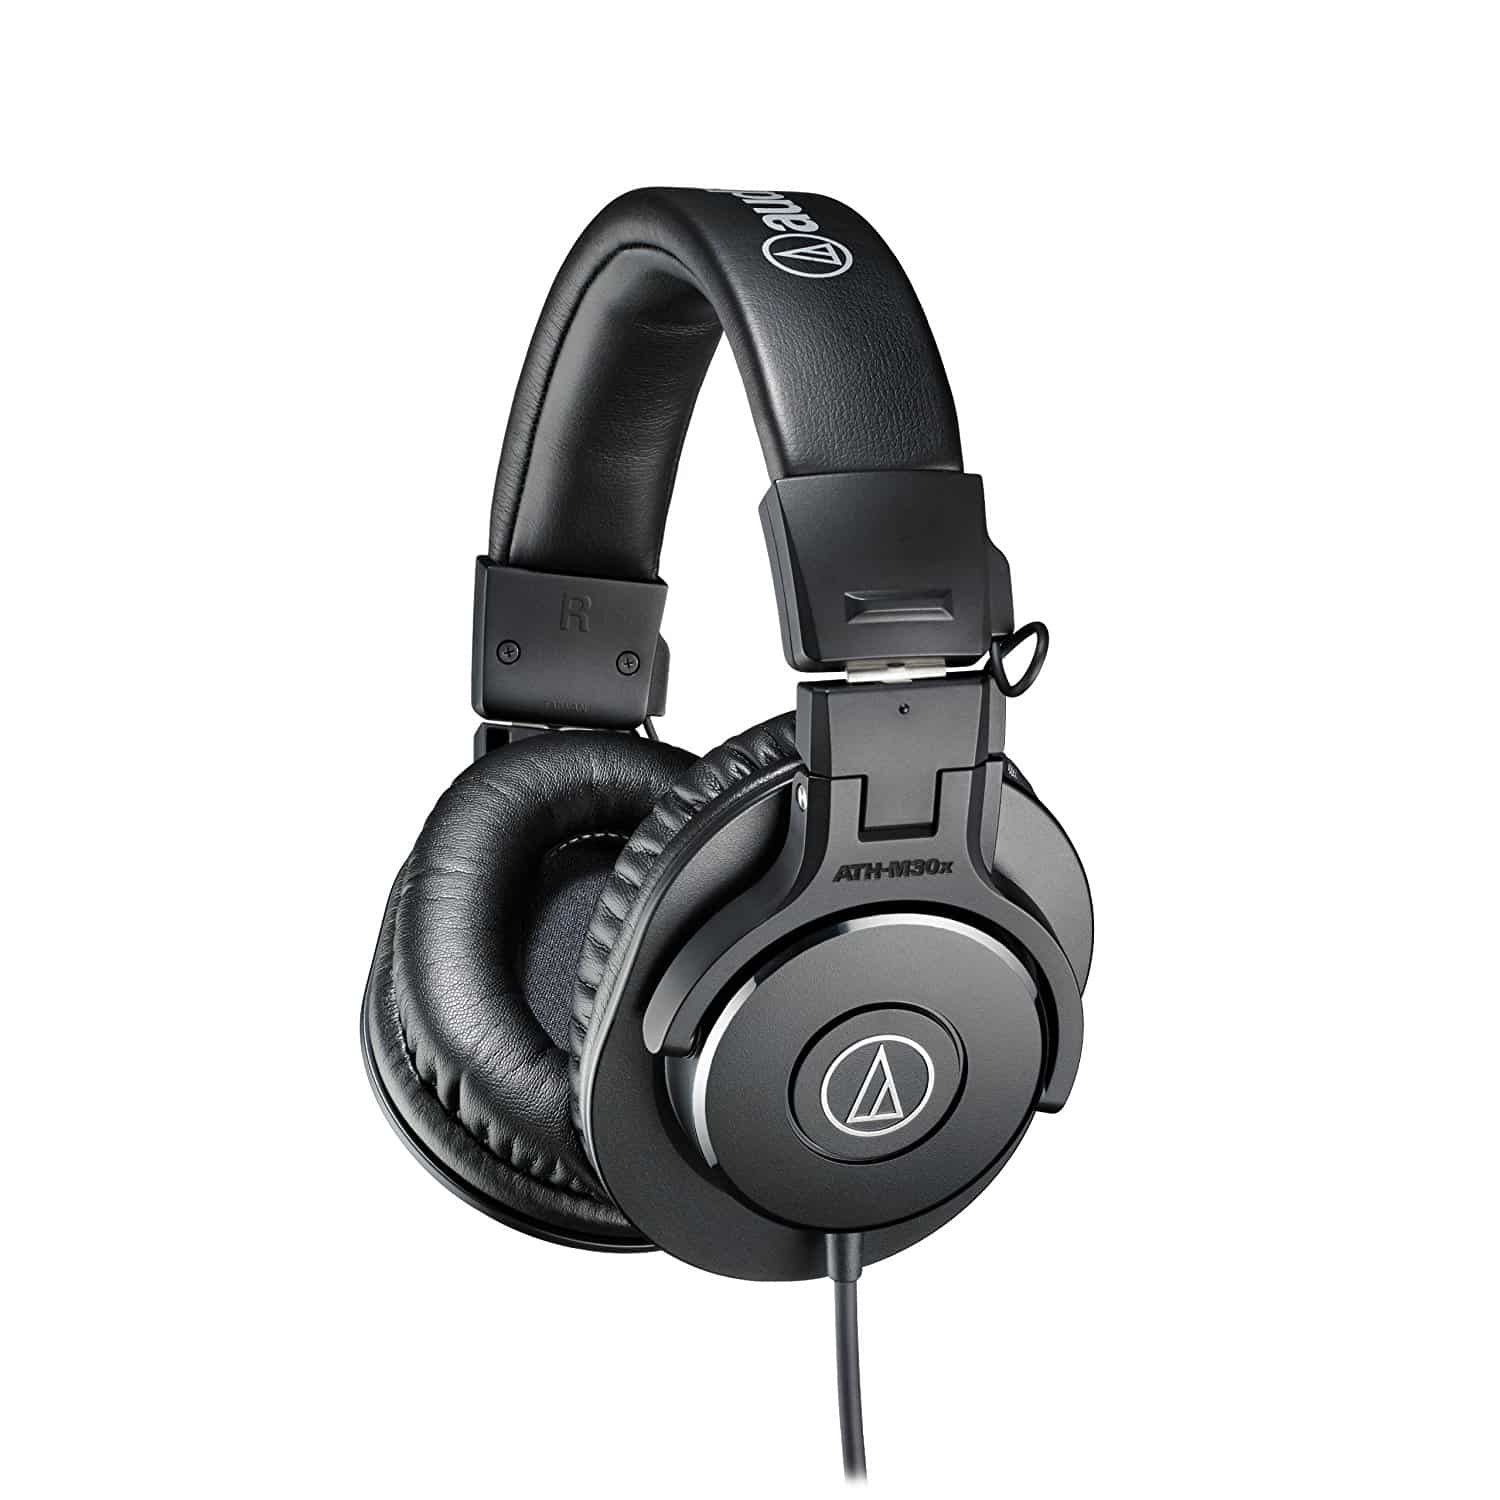
I guess a good place to start is with one closed-back pair, which can serve both purposes. For that, I recommend the Audio Technica ATH-M50X (£90 / $129) or the ATH-M30X (£41 / $59)
Quick Tips on headphone monitors: If your budget is tight – they can wait. You can monitor the backing tracks directly from your speakers when recording. To fix the issues of the bleeding just record the whole track again without moving the mic and singing. Invert the phase of the empty recording and this will cancel out the bleeding of the original track.
Microphones
This is a huge topic with a large variety of choice. I’d say start with a condenser microphone for your vocals and other instruments, but also have a Shure SM58 (£80) sitting in your drawer. The SM58 is the most widely used mic, which you will probably find in almost every studio on this planet. It is a very rugged and versatile dynamic microphone, which has applications spreading from vocals, guitar amps, drums and other instruments all the way to self-defense tool and a nailing hammer.
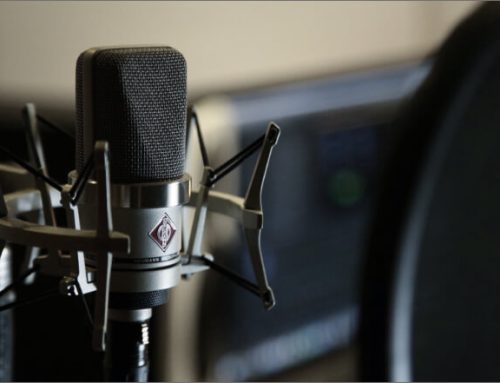
Now that the SM58 is out of the way, let’s go back to the large diaphragm condenser microphone. That is the trusty weapon that will make your vocals shine and you don’t need to break the bank for a Neumann U87 (£3,500). You can find midrange choices for a 10th of the U87s price that will perform very close.
Shure SM58 – £72 / $104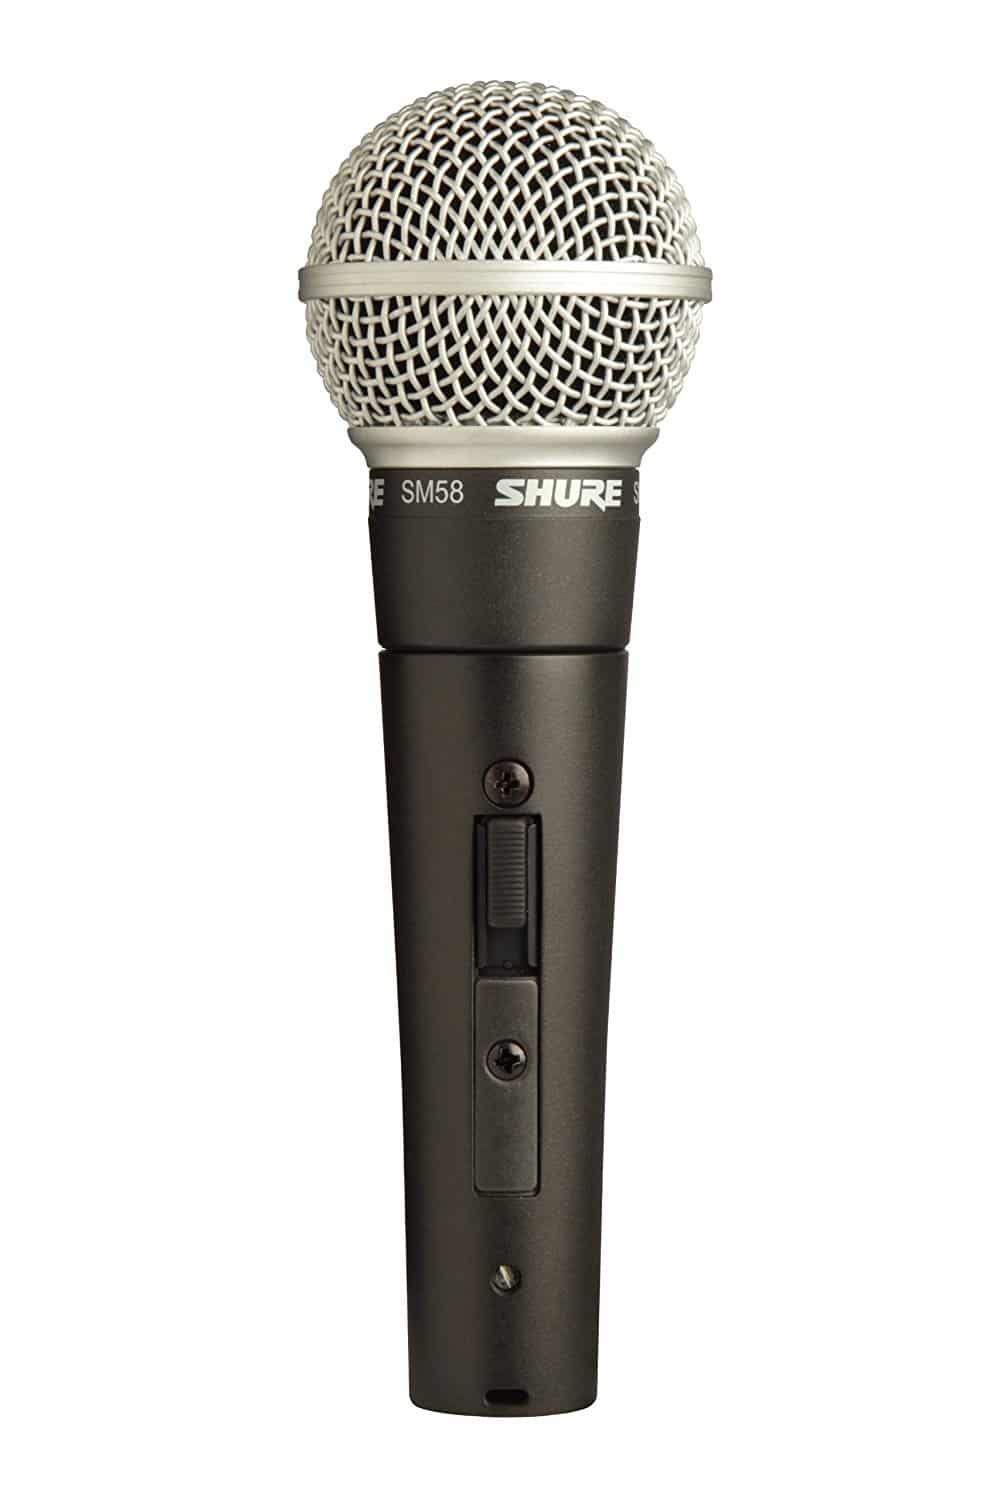
Neumann U87 – £2,500 / $3,599

One fairly new company, which has made some noise with their models Spirit and Origin (£250) is Aston. Definitely, check them out.
Aston Spirit – £348 / $499 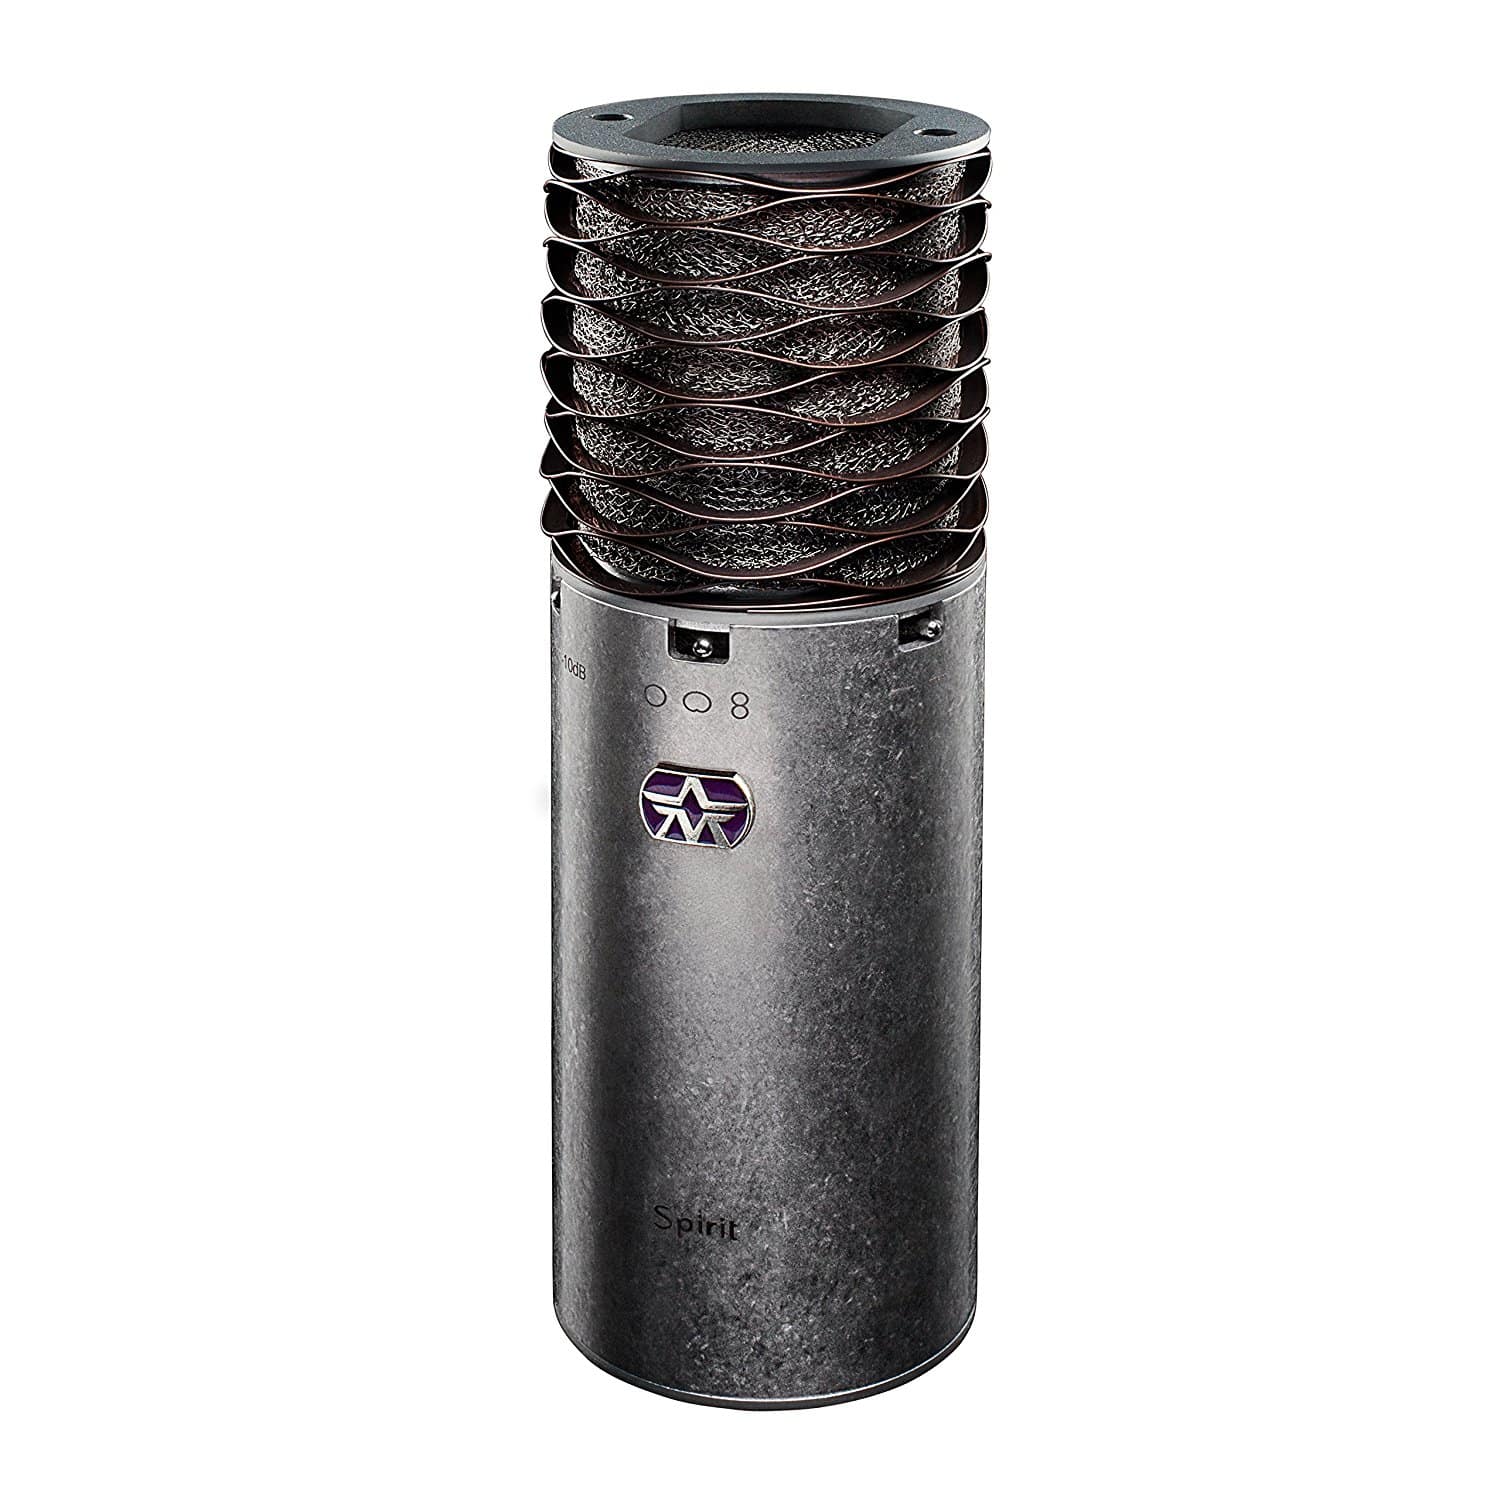
Aston Origin – £187 / $269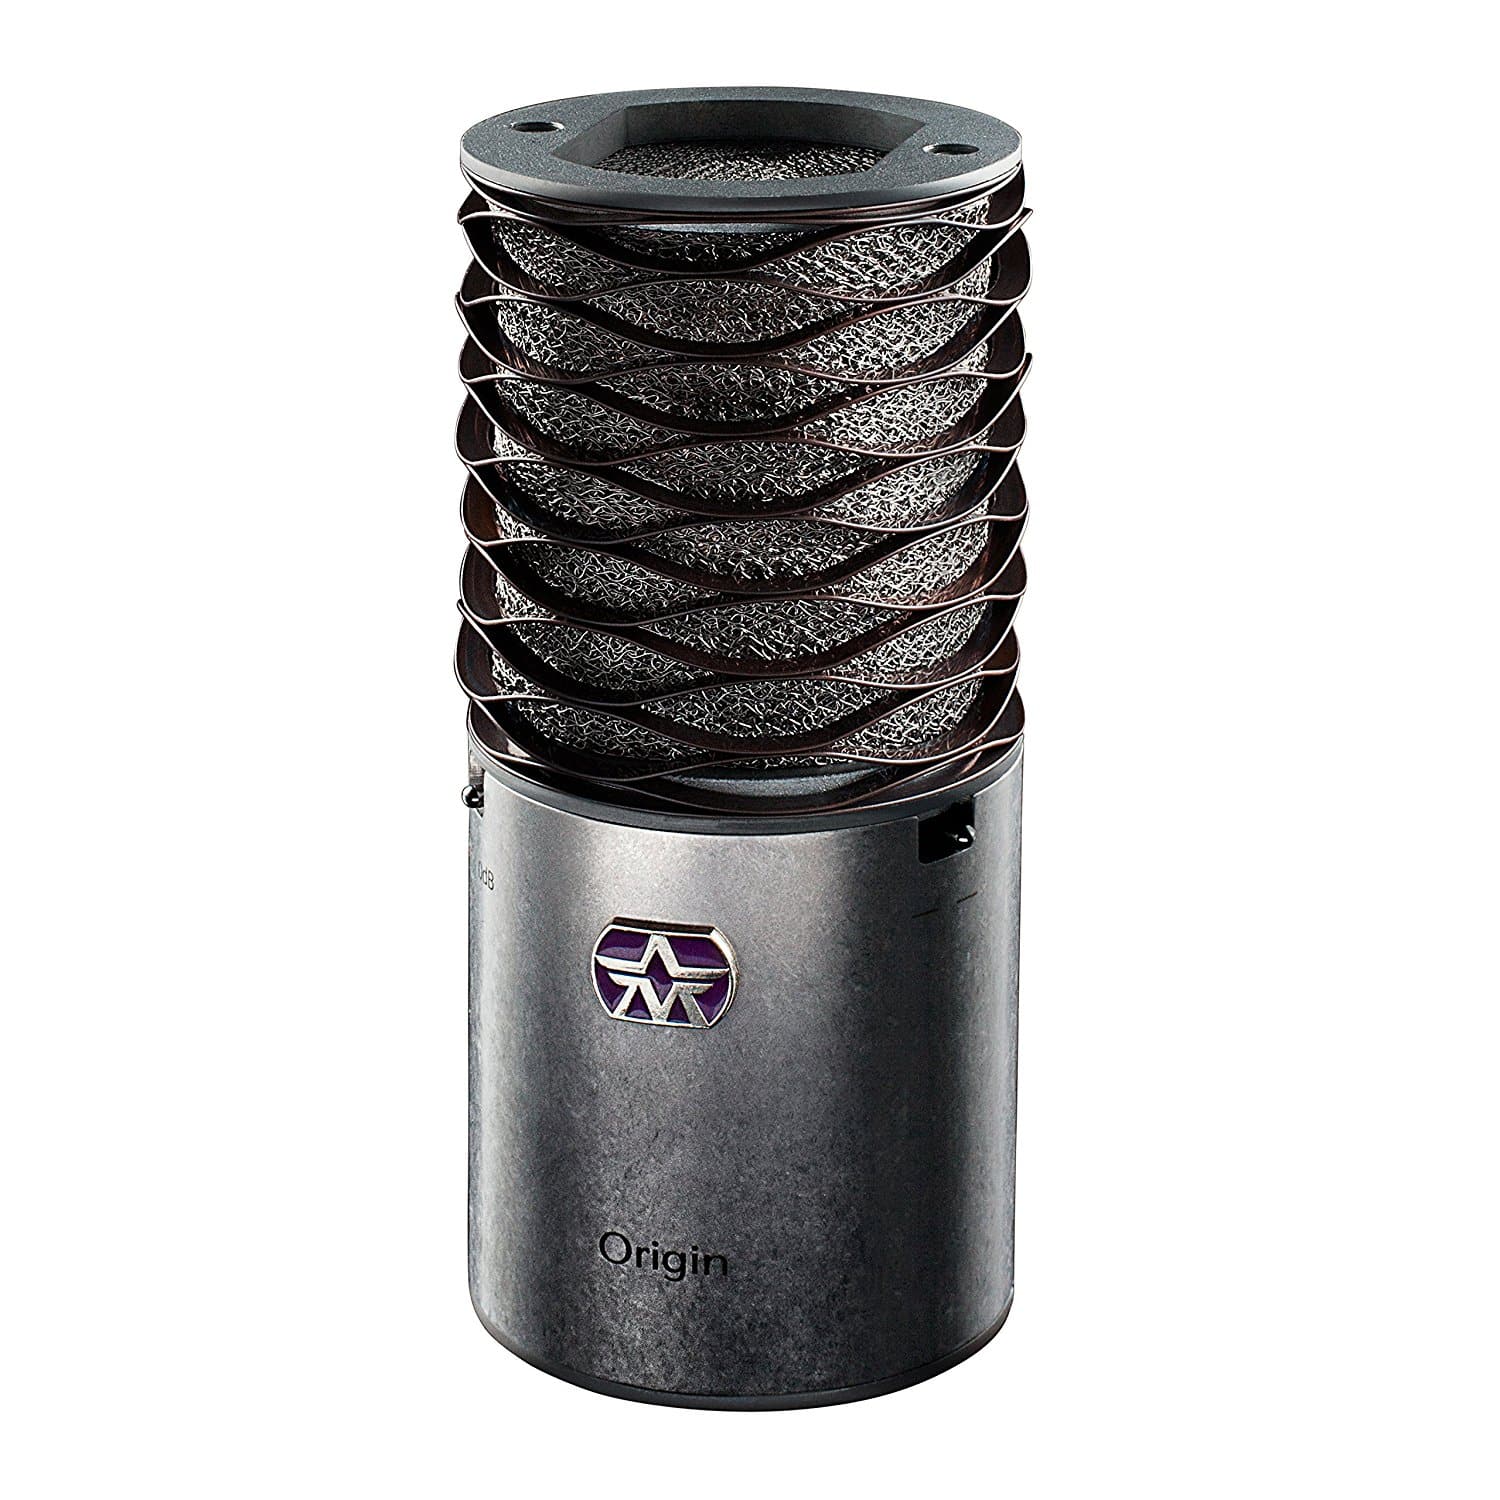
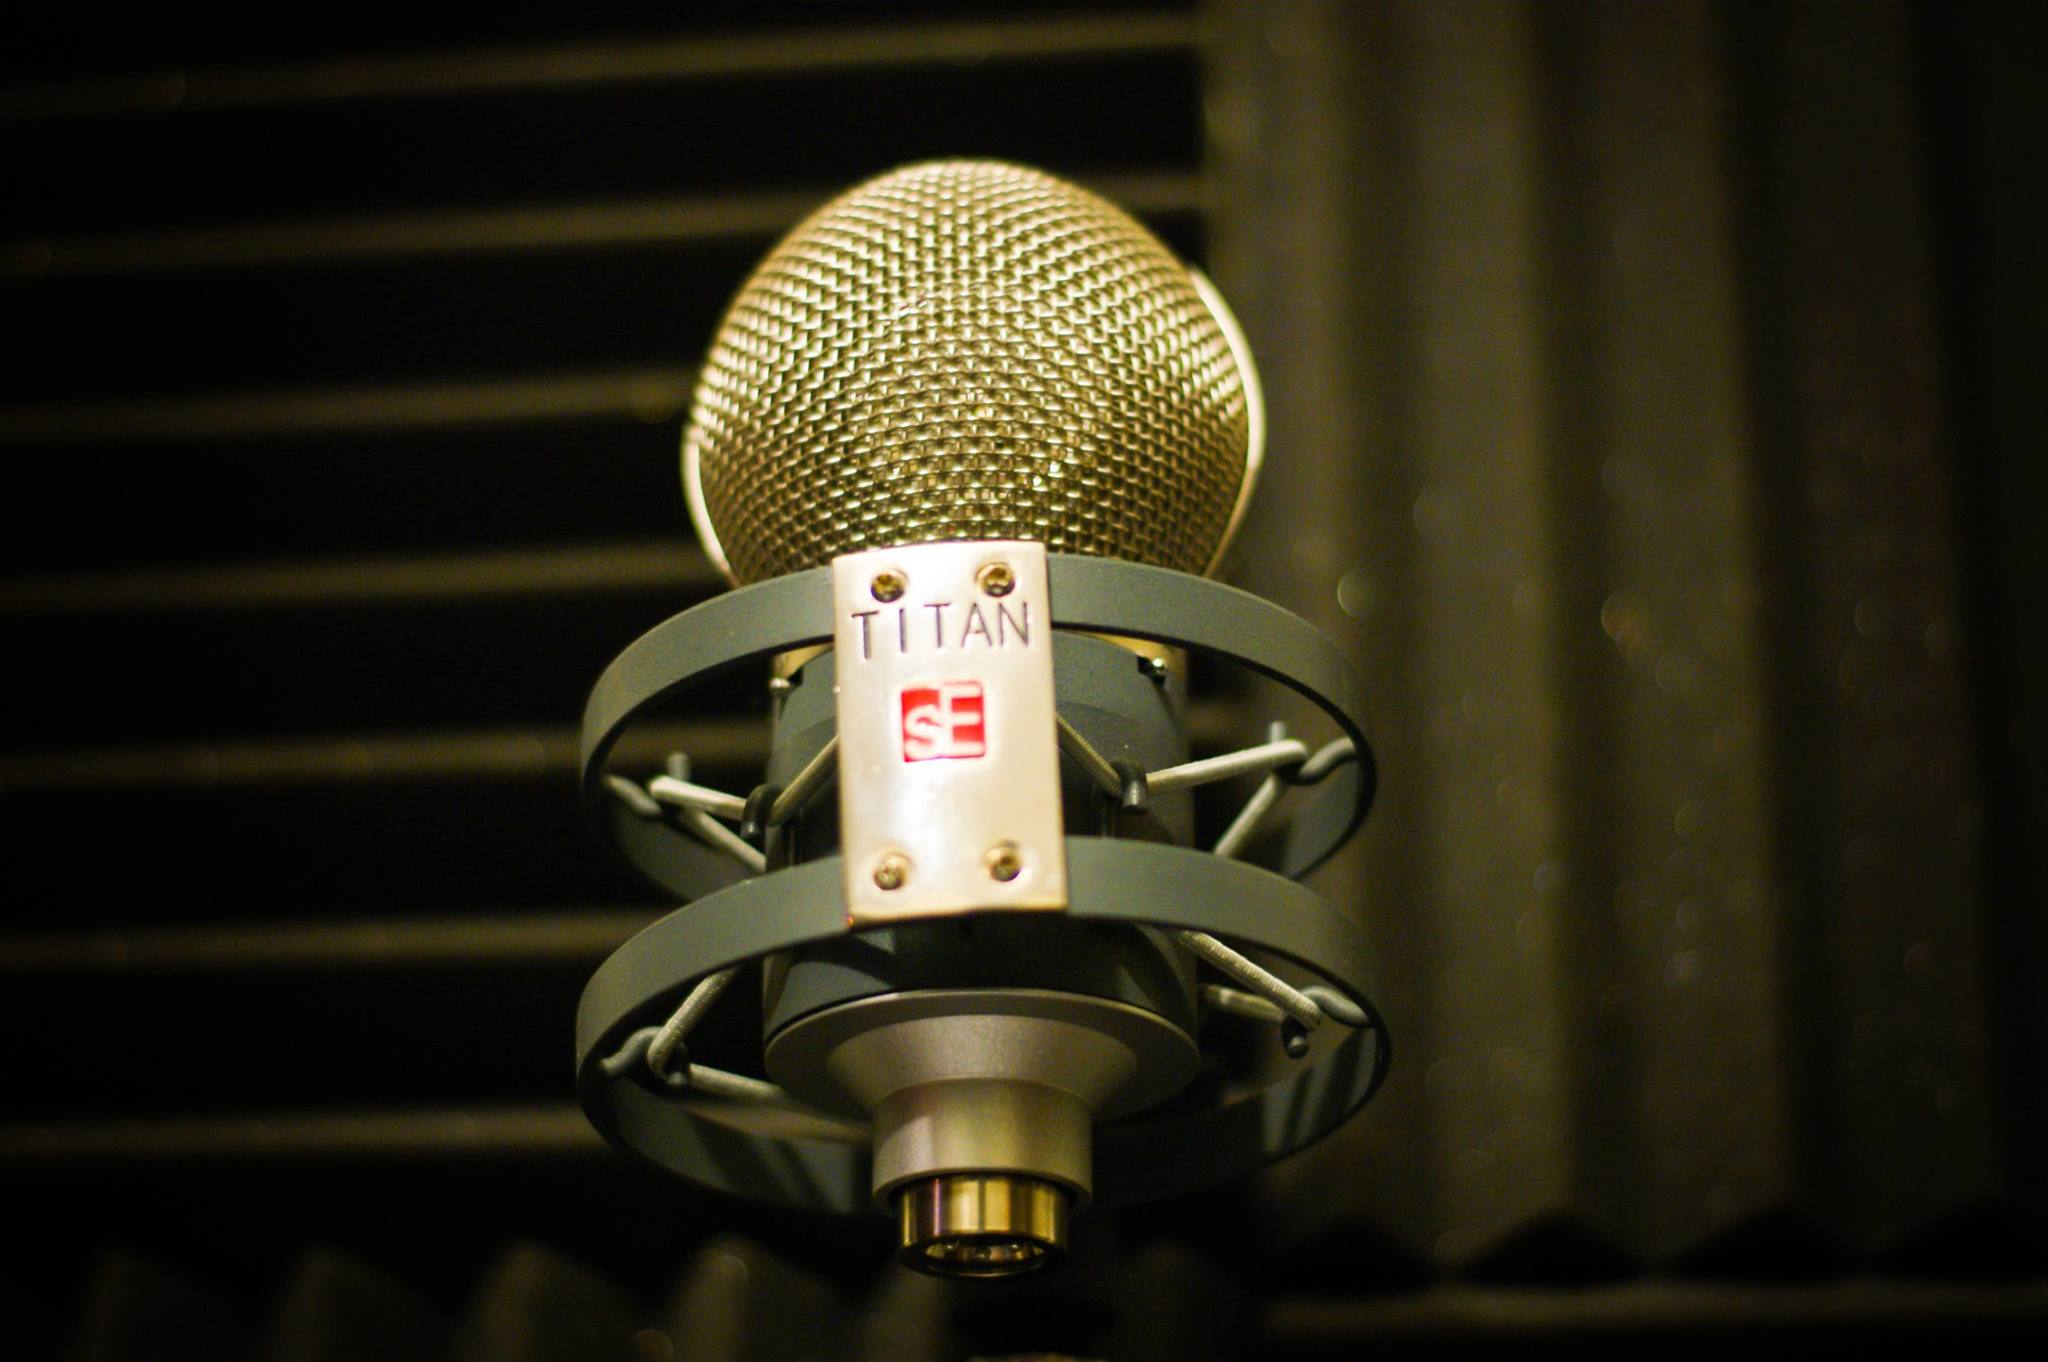
If you want to go a bit more adventures you can find hidden and not so popular gold mines on eBay like the SE Electronics Titan. The first generation of this mic (£1,500) is now selling for as little as £150 because it was discontinued. As the title suggests its diaphragm is made of titanium, which means it can take a nice beating and is heat-resistant. That will allow you to record for longer periods of time, without bending the diaphragm and changing the sound due to a heated soft golden diaphragm. Overall the mic is super versatile and provides great sound quality.
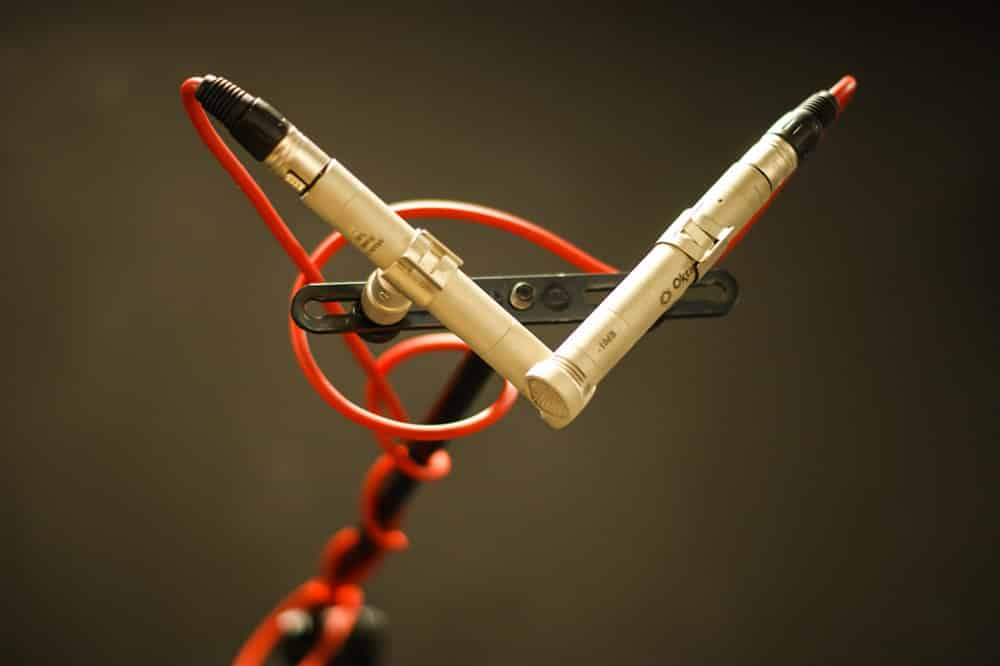
Another brilliant and not so popular choice would be a pair of small diaphragm condenser microphones called Oktava MK012. These Russian mics can stand up to competitors with a price range of over £1,000. This is another super versatile choice with a premium feel that has changeable mods and diaphragms to meet every task and every taste. A guy in the US called Michael Joly makes custom mods for the MK012s and can change both the transformers and the diaphragms, building the microphones into absolute beasts. For an extra ($400) he can turn a pair of the MK012s into U87s that can outdo many of the other clones.
Oktava MK012 £309 / $215
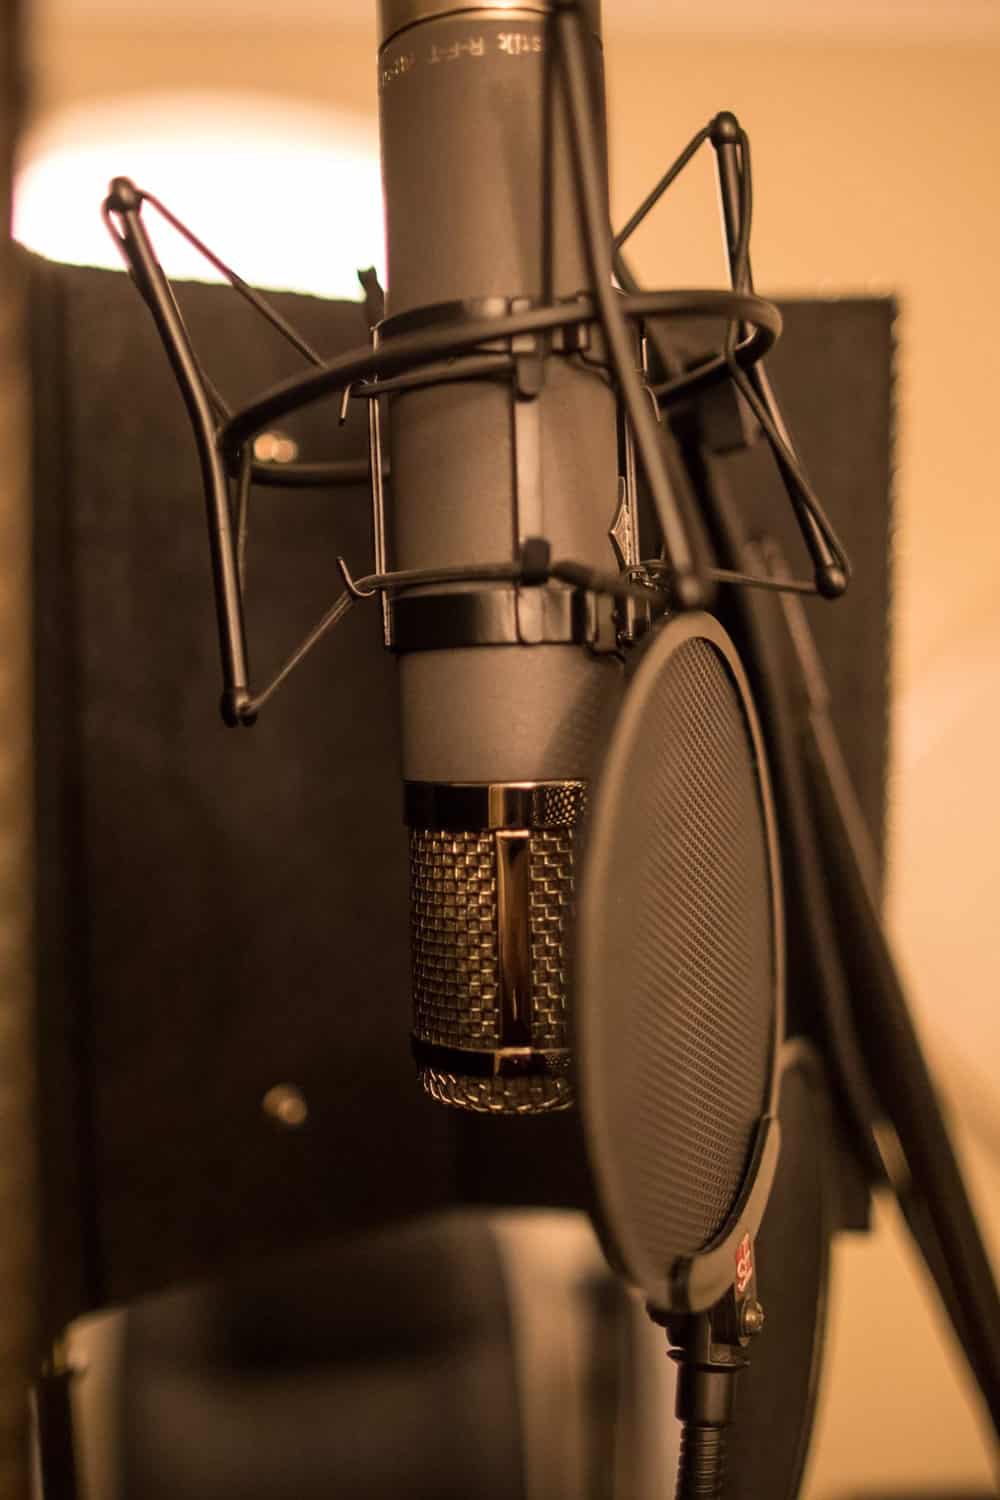
Quick Tips on microphones: Sometimes you’d see microphones hanging upside down during a session and that is not just for the cool look. The transformers of the microphones can produce a lot of heat. If the diaphragm is directly placed above that heatwave it can soften up, expand and change the sound.
Cables
I would advise you to get used to the idea of soldering your own cables. Doing so allows you to build them for the fraction of the price. Anything you can do to save money means – more cables, more acoustic panels, more equipment and more plugins.
As a start, you’ll need some balanced and unbalanced XLRs for your microphones, jack to jack cables, as well as a variation of the two.
Quick Tips on cables: You can make your own phase inverters, if you preamps are missing them, by inverting the phase of the cables during the soldering.
Room & Acoustics
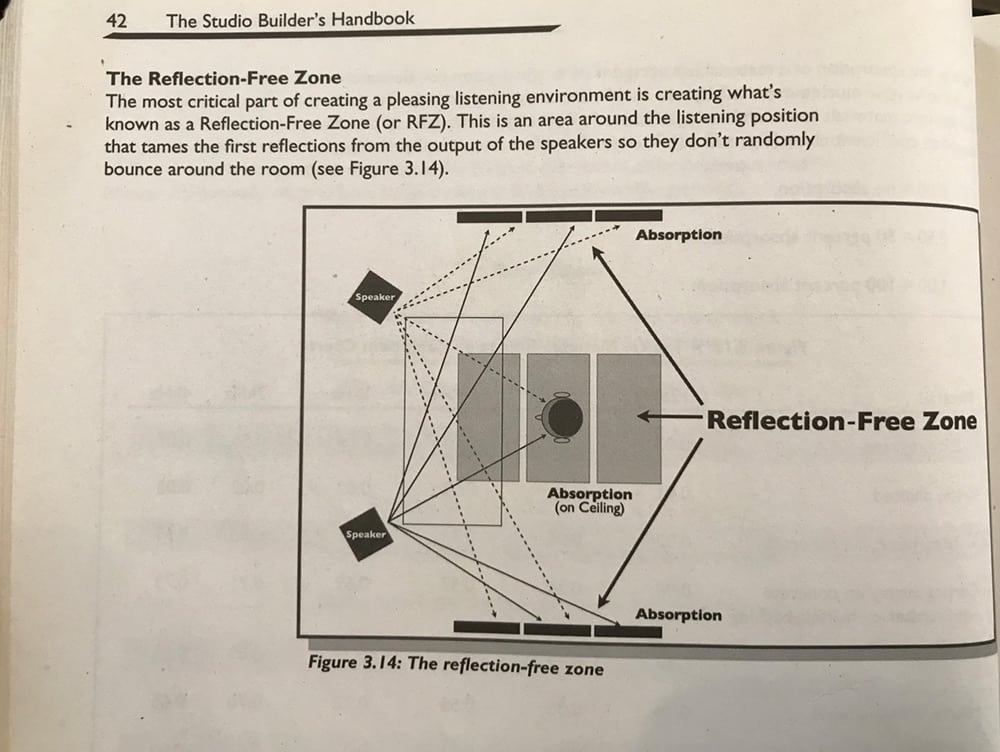
In relation to mixing, this is the most important area of thought in my opinion. Set a budget for your monitors and slash it in two. The first half will go towards your monitor speakers and the other half towards acoustically treating your room. Better to have a mediocre set of speakers in an acoustically adequate room then high-end monitors in a room filled with horrible reflections, buildups of unwanted muddiness and overall unrealistic representation of your mix.
Now before you ruin your walls with foam panels let me save you some money and trouble. Foam is useless. It absorbs a very small portion of the frequency spectrum and makes the mess even bigger. Overdoing it creates a lack of high-end and a deception of muddy buildups, which makes you compensate for it in the mix.
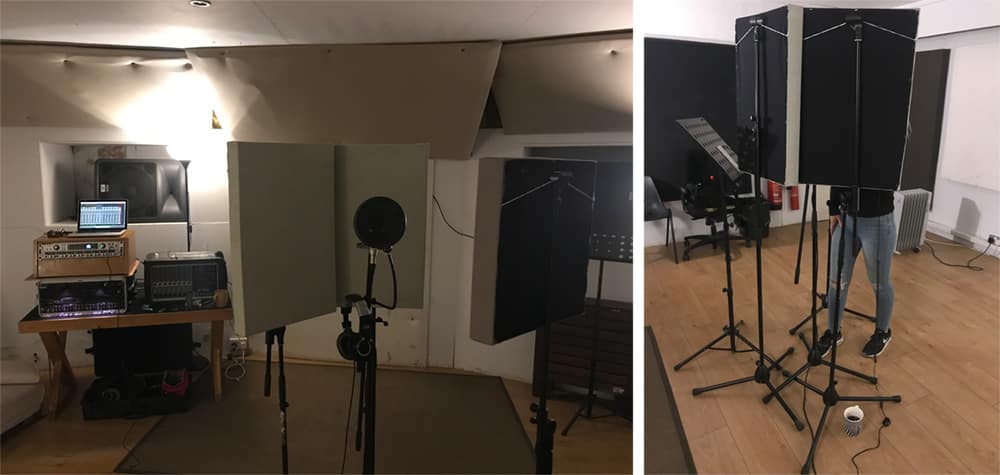
The best course of action is to build your own panels out of rock wool. The internet is filled with instructions on how to do it for a fraction of the ready-panels price and it’s a lot easier than you think. Check out the bible of acoustics if you want to get the most out of it [“The Studio Builder’s Handbook”].
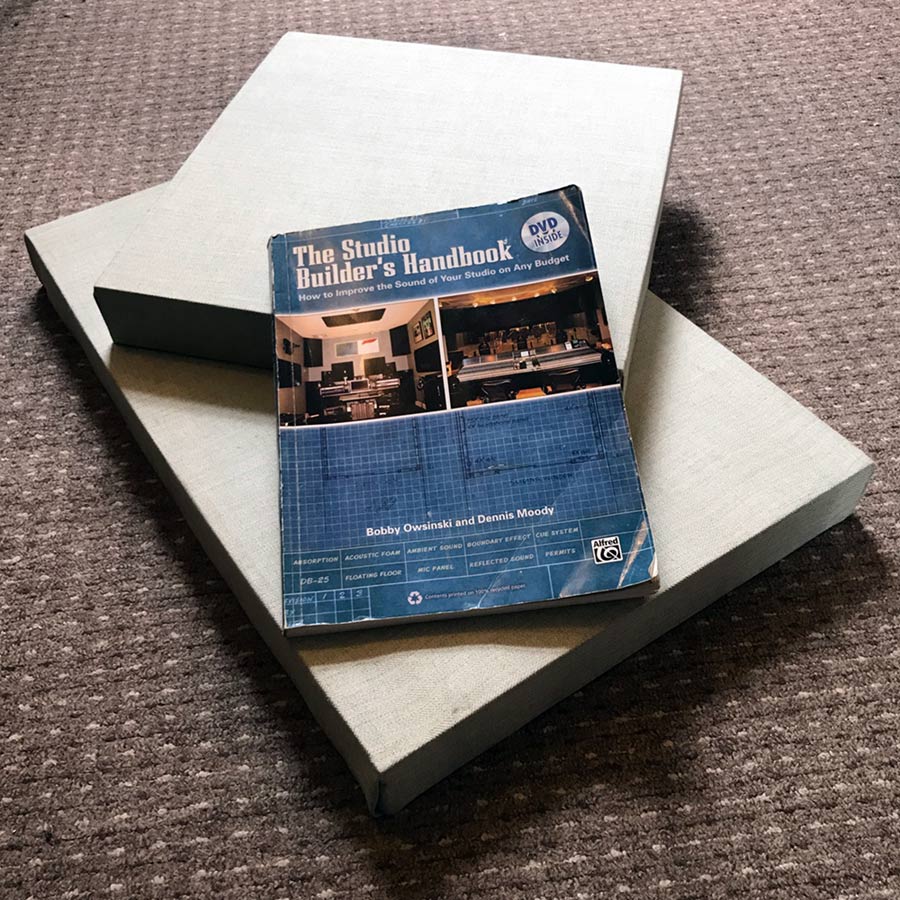
Quick Tips on the panels: Place them on stands instead of nailing them on your wall. Doing so saves your walls, makes the panels mobile and lets you make an air gap between the panel and the wall. An air gap with the same thickness as the panels essentially doubles the effectiveness of the rock wool as the initial sound waves get absorbed by the panel and the leftover secondary reflections of the wall come back into the rock wool.
Making them mobile also allows you to build temporary reflection filters around your microphones when you are recording as well as transport them anywhere you want.
Acoustic treatment with software
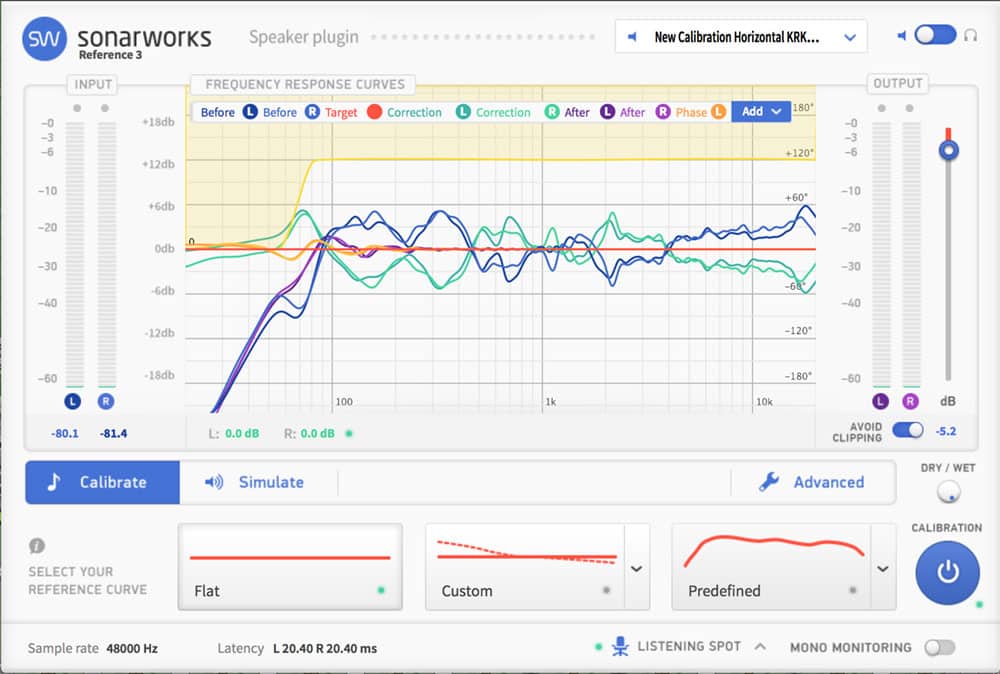
Finally, on the topic of acoustics – invest in the Sonarworks Reference 4. This is a calibration tool, which adjusts the frequency response of your monitors in relation to the acoustics of your room. That essentially creates the illusion of a much better acoustically treated room in the sweet spot of your monitors.
Setting up a budget
Here is an example of a basic price list of your necessities. Everything else comes later on. Keep in mind that often second-hand equipment is for the smart – not for the poor.
The Principal
Your recordings are going to be as good as the weakest link in your setup! Recording with great preamps and shitty microphones will set the latter as standard in your mixes. Mixing on great monitors placed directly on your wooden desk in an acoustically untreated room will do exactly the same. Imagine pulling a truck with a very thick chain, which has a very thin copper link in the middle – the result will be nothing short of poor.
If you don’t have money for everything in that list don’t sweat about it. Building a studio takes years and you don’t need everything at once. If you do have the money don’t get cocky as you’ll see how quickly your needs will grow. No matter how old you get you never stop learning and no matter how much equipment you have you never stop buying.
Ivo Sotirov – Sound Engineer and Music Producer
www.ivo.sotirov.me


