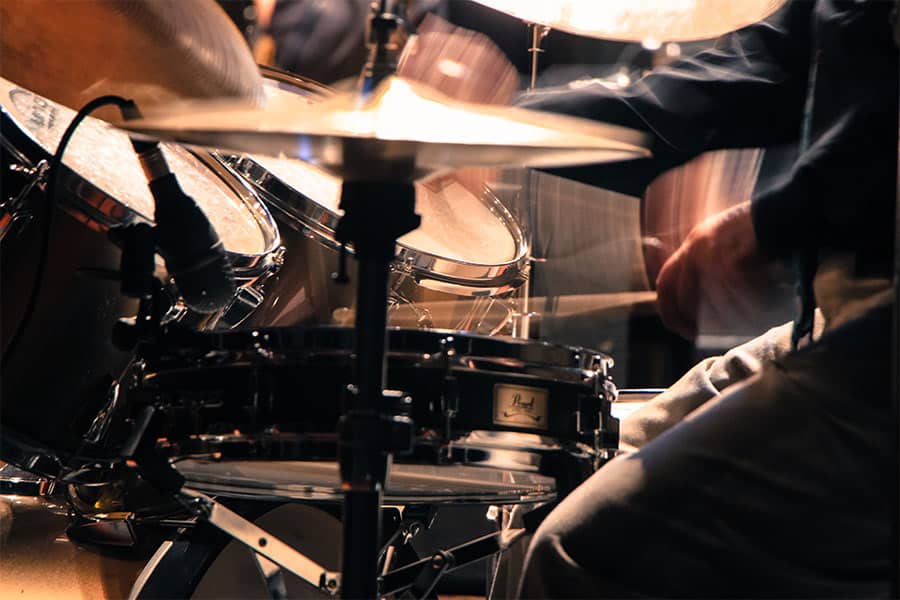
The two most important things of getting a good sound drum sound are to have a good drummer and a good drumset so what makes a good drummer? A good drummer will be able to play on time, he will have a good balance when hitting the drums (for example, he will hit the snare and the toms with the same strength so they will sound at the same volume) and last but also very important: he will have a great control of dynamics and will hit the drum in the same spot all the time.
When you have a drummer that plays in time there will be less necessity for editing and will make the sound more natural letting us keep the drummer’s groove untouched although some music genres such as the metal call for editing the drums to the grid nowadays.
A well-balanced drummer will give us the right volume for each drum on the overhead and room mics letting us mix those mics more with the close mics on each drum letting us add more of the character of the room where the drums were recorded. He will also hit the cymbals with the right strength so we will be able to listen to the hi-hat, crashes and ride cymbals very well balanced without us having to ride the faders for the entire song.
The dynamics also play a very important role. For instance, you want a drummer who hits the snare with the same strength and on the same spot all the time so you have a constant snare sound.
What about the microphones?
Well, microphones are a very wide subject. Its all a matter of what you are looking for and a matter of taste but there are some general guidelines that can be taken into account.
For overheads, cymbals and rooms it’s good to have condenser mics. Condenser mics translate high frequencies better than dynamic mics and most of the time they can’t handle as much sound pressure as dynamic mics so we want them further away from the drums or on a cymbal that produces less sound pressure than a drum.
For drums, dynamic mics are preferred most of the time. They can handle very high sound pressure levels and they can be placed right on the drum to get all the attack and tone of it.
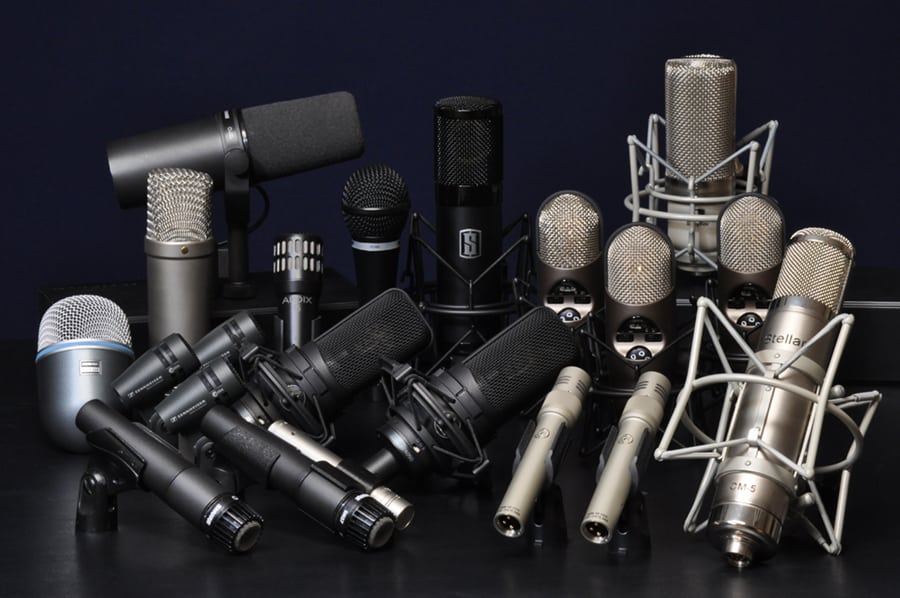
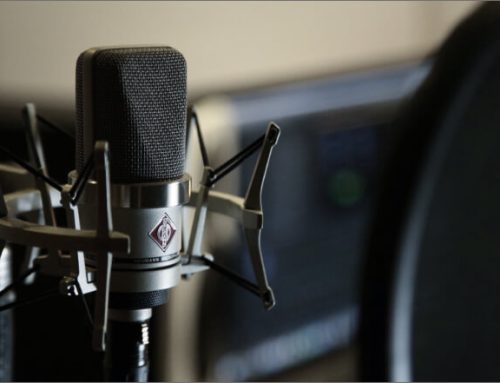
Microphone Collection of Jordan Nalley
Now let’s get into mic placement:
Assuming that we have a good drummer and that the drumset is tuned (yes! drums have to get tuned too) we can get into smaller details.
Kick Drum
Kick drums and toms have two skins. A beater skin and a resonant skin. The beater skin as the name states is where the beater of the pedal or where the drumstick will hit. The resonant skin is where the note of the drum comes from in combination with the beater skin.
On kick drums, the resonant skin can be sealed (mostly used in jazz) or it can be open (mostly used in rock, pop, metal, etc). An open skin will let us place a microphone inside the kick drum pointing at the beater skin. With this microphone, we will be able to capture more of the attack sound of the drum. In combination, we can place another microphone on the outside of the drum to capture the lower frequencies. Lower frequencies take up more space so its easier to capture them further away from the sound source. We can mix these two microphones to have the perfectly balanced kick drum sound.
Toms
Toms have the same beater/resonant skin principle as the kick drum. We can also have two microphones on them but most of us just place a mic on the top skin. A good starting point would be having the microphone 2 inches up from the rim and pointing at the center of the drum where the stick hits. If you are getting too much attack from the stick just point the microphone more to the edge of the drum to get less attack and more tone.
Overheads
Overhead mics are the mics (usually two) that give us the stereo image of the drumset. They are placed on top of the drumset (usually pointing at the crash cymbals). These mics are placed 2 feet or higher from the cymbals depending on the taste of the engineer.
Snare
Snares are a bit more complex to deal with and that’s why I left it for last. We have the top skin where the stick hits and we have the bottom skin where the snare wires are. They have completely different sounds and together make the snare drum what it is. For the top skin, we can use the same technique we use for the toms: 2 inches up from the rim pointing at the center of the drum. For the bottom head, we should copy the same positioning as the top mic to keep coherence between the phase of the two mics (ill get into phase shortly). The bottom mic should be pointing to the length of the snare wires if we want more snare wire sustain.
Phase
Phase is simpler than it sounds like. Sound waves compress air (positive phase) and expand air (negative phase). When you hit a drum skin, the skin will vibrate up and down (in its simplest form). So the mic that is on top, looking down to the drum, will have the skin getting away from it (air expansion) while the mic in the bottom looking up to the drum will have the skin getting closer to it (air compression) at the same time. So, whenever the skins move, both mics will have the total opposite effect in terms of the skin vibration making the phase completely opposite to each other. In this case, we should flip the phase of the bottom mic so that electronically speaking, both mics will have the skins coming closer (compressing air) or getting further away from them (expanding air) at the same time.
Now, that we have recorded the perfect drumset, how do we mix them?
Stay tuned for the next article about mixing your drums!
Ignacio Molino – Grammy Winning Mix Engineer and Producer


